What to Do After a Storm: Emergency Roof Repair in Houston

Toby Dagenhart • August 12, 2025

Houston is no stranger to seasonal hurricanes, intense winds, and heavy rain. With weather conditions like this, an emergency roof repair in Houston is not uncommon. After a storm hits, it's important to promptly inspect your roof for any damage and hopefully avoid more extensive and costly repairs down the line.


Here’s what every Houston homeowner should do after a storm hits, and when it may be time to call for an emergency roof repair in Houston.


1. Prioritize Safety First

Before anything else, make sure you and your family are safe. Don’t climb on your roof or walk through standing water near power lines. If parts of your roof has collapsed or major water intrusion is happening, evacuate the area and call for professional help immediately.


2. Once it’s safe, step outside and do a ground-level inspection.


Things to look for:

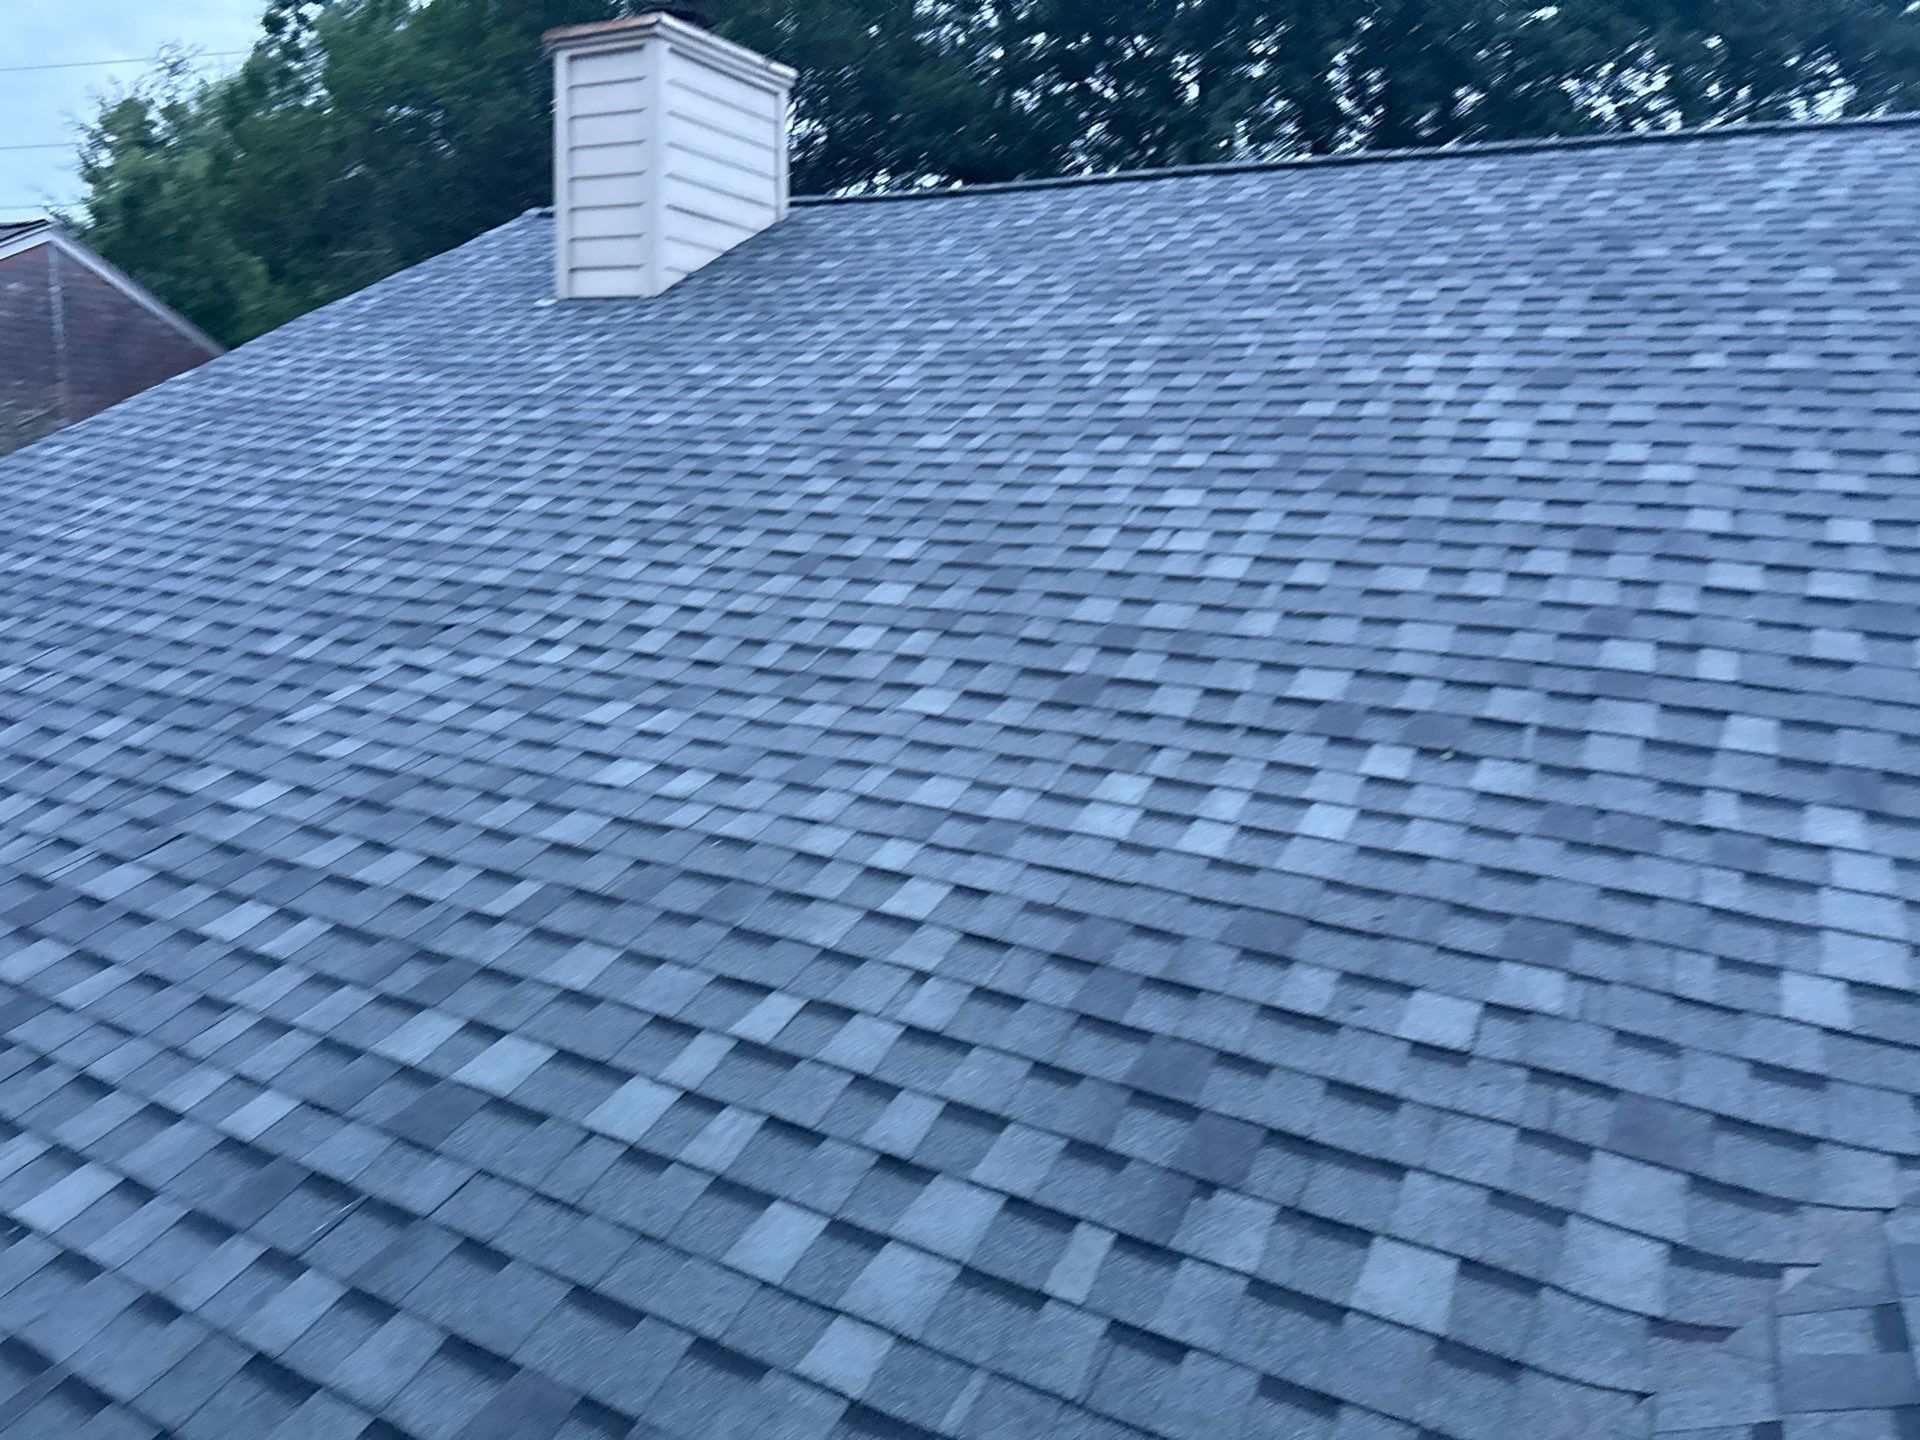
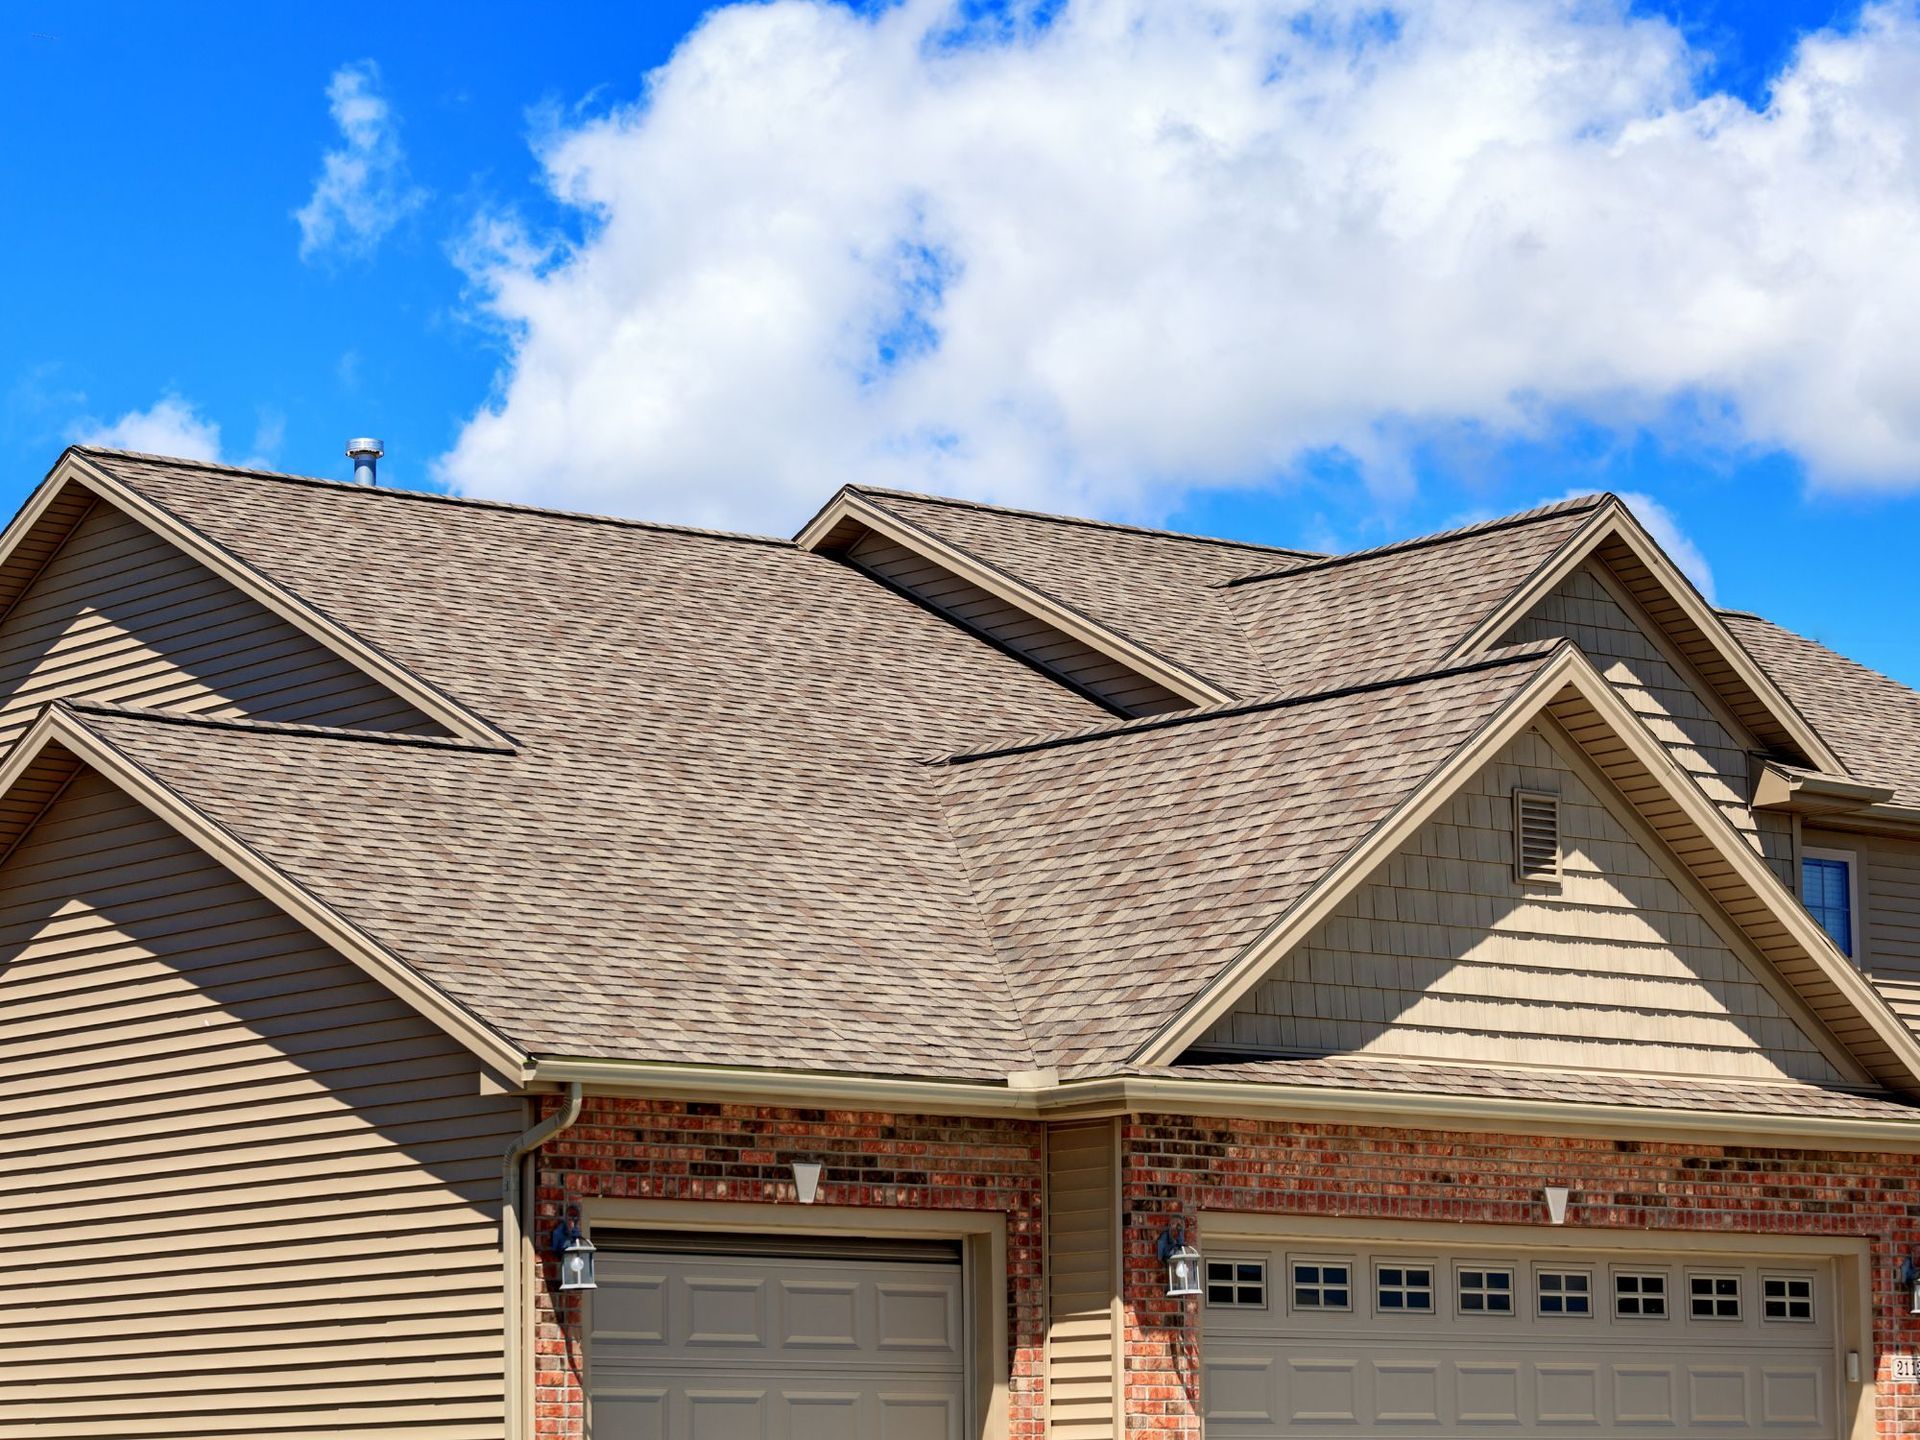
  • Missing shingles or flashing
  • Tree limbs or debris on the roof
  • Sagging areas
  • Gutter damage or downspouts detached
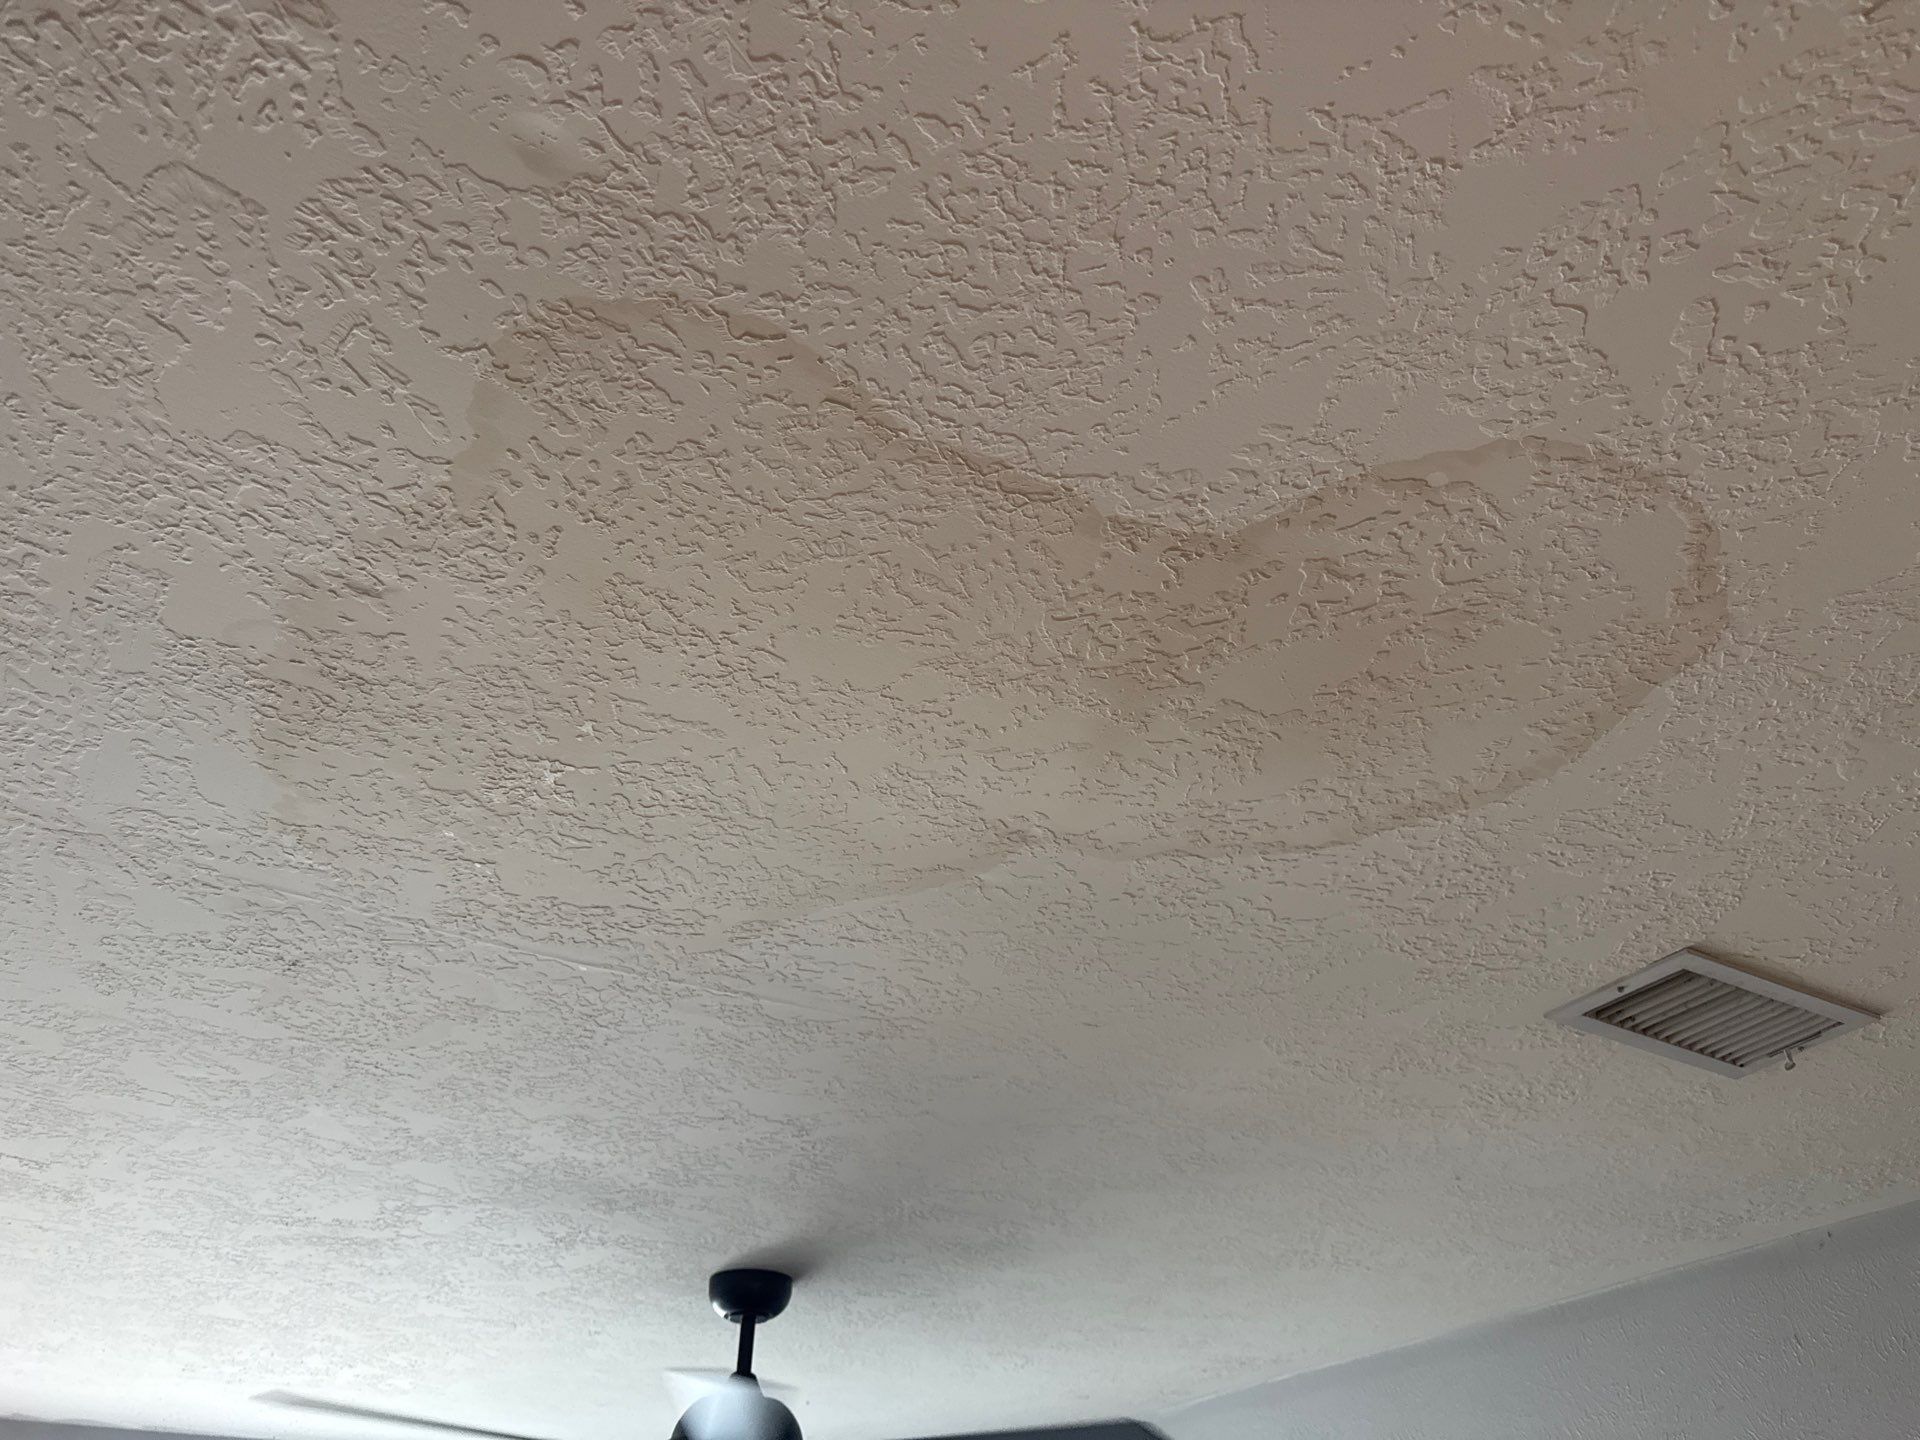
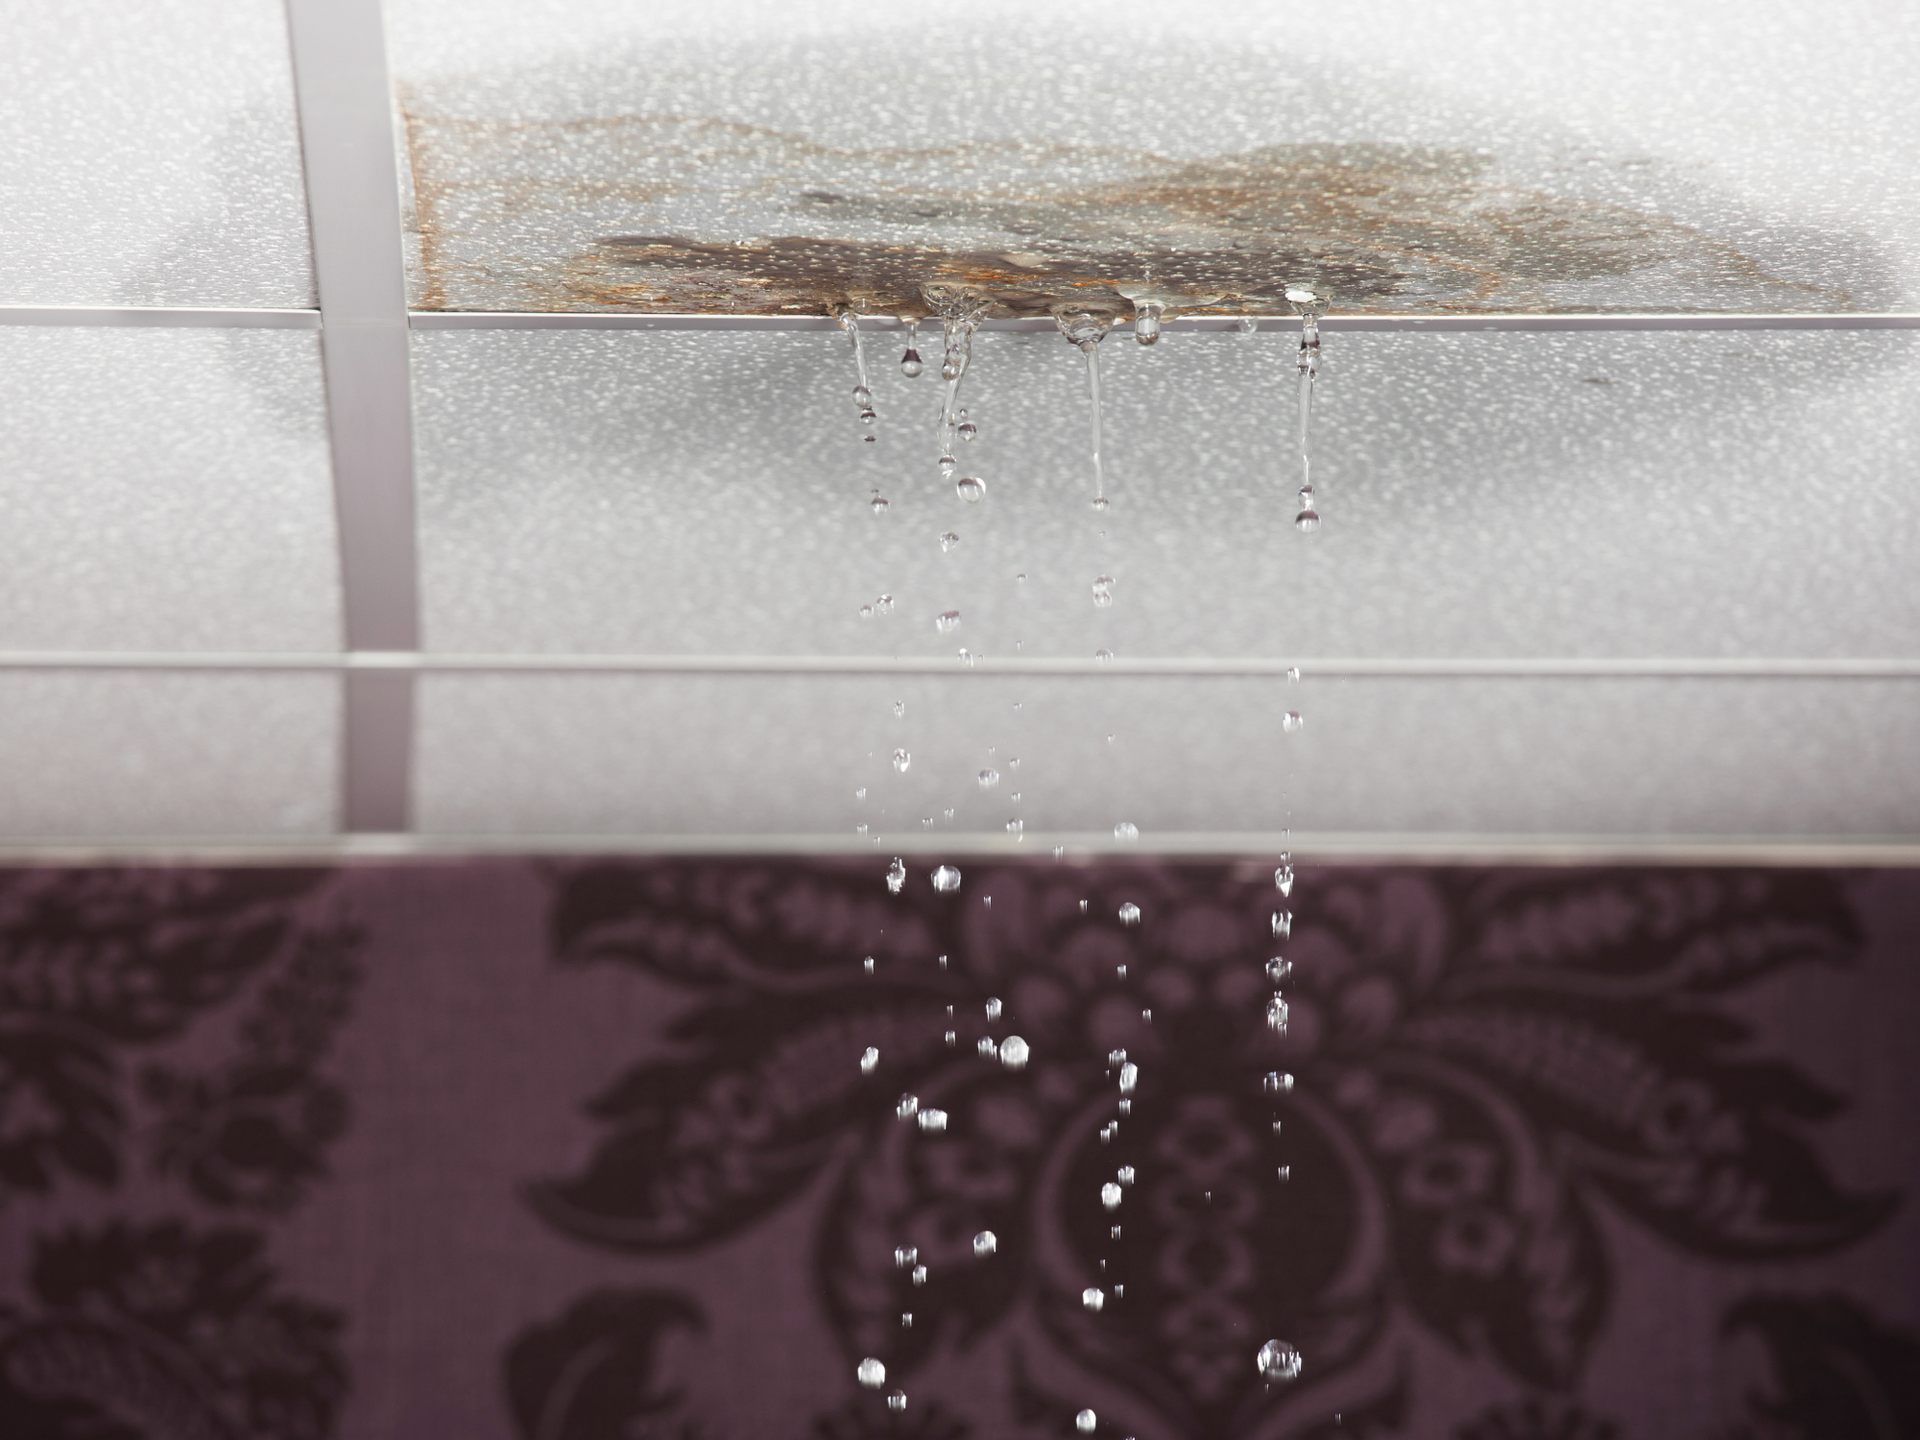
  • Water stains on ceilings or walls inside your home


3. Document Everything

Take clear photos of the damage to your roof, gutters, windows, and the interior of your home. This documentation is very important if you plan on filing a claim with your homeowner’s insurance company. Keep a written record of the storm date and any immediate actions you take.


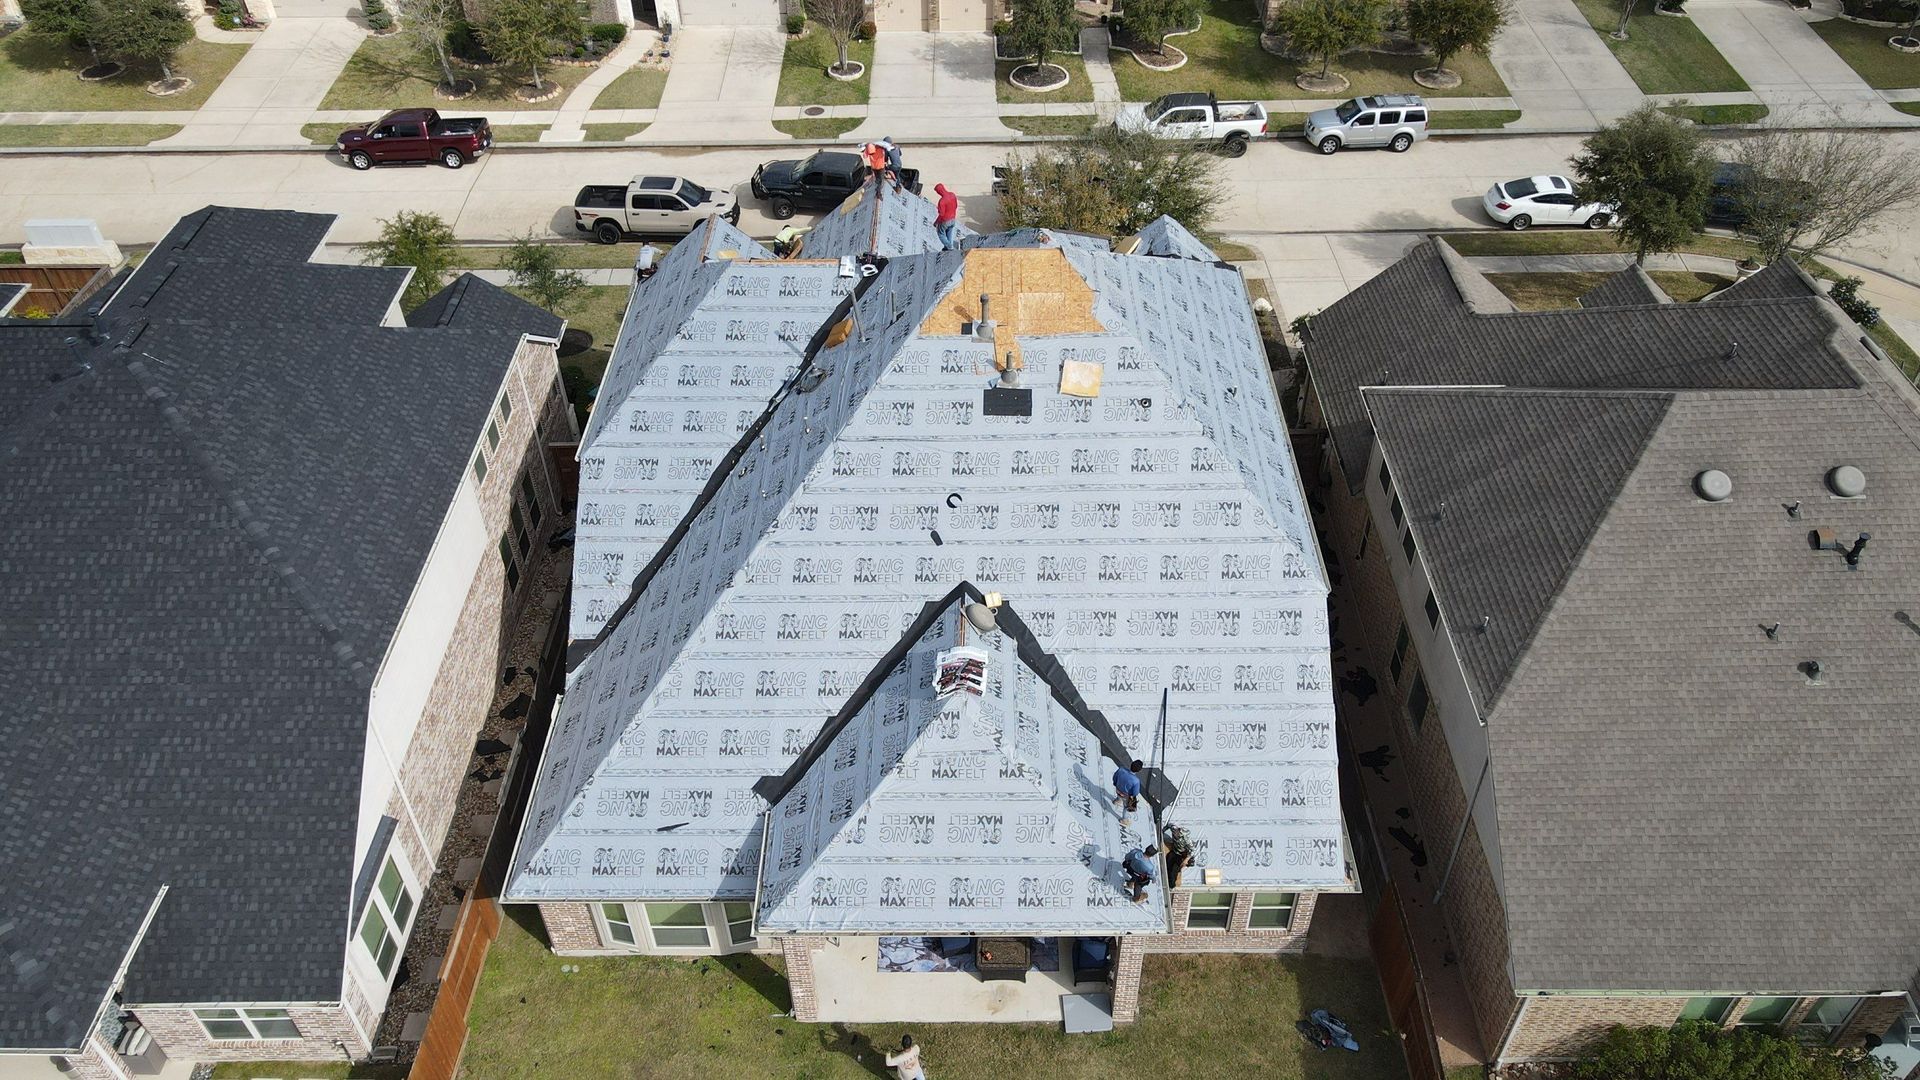
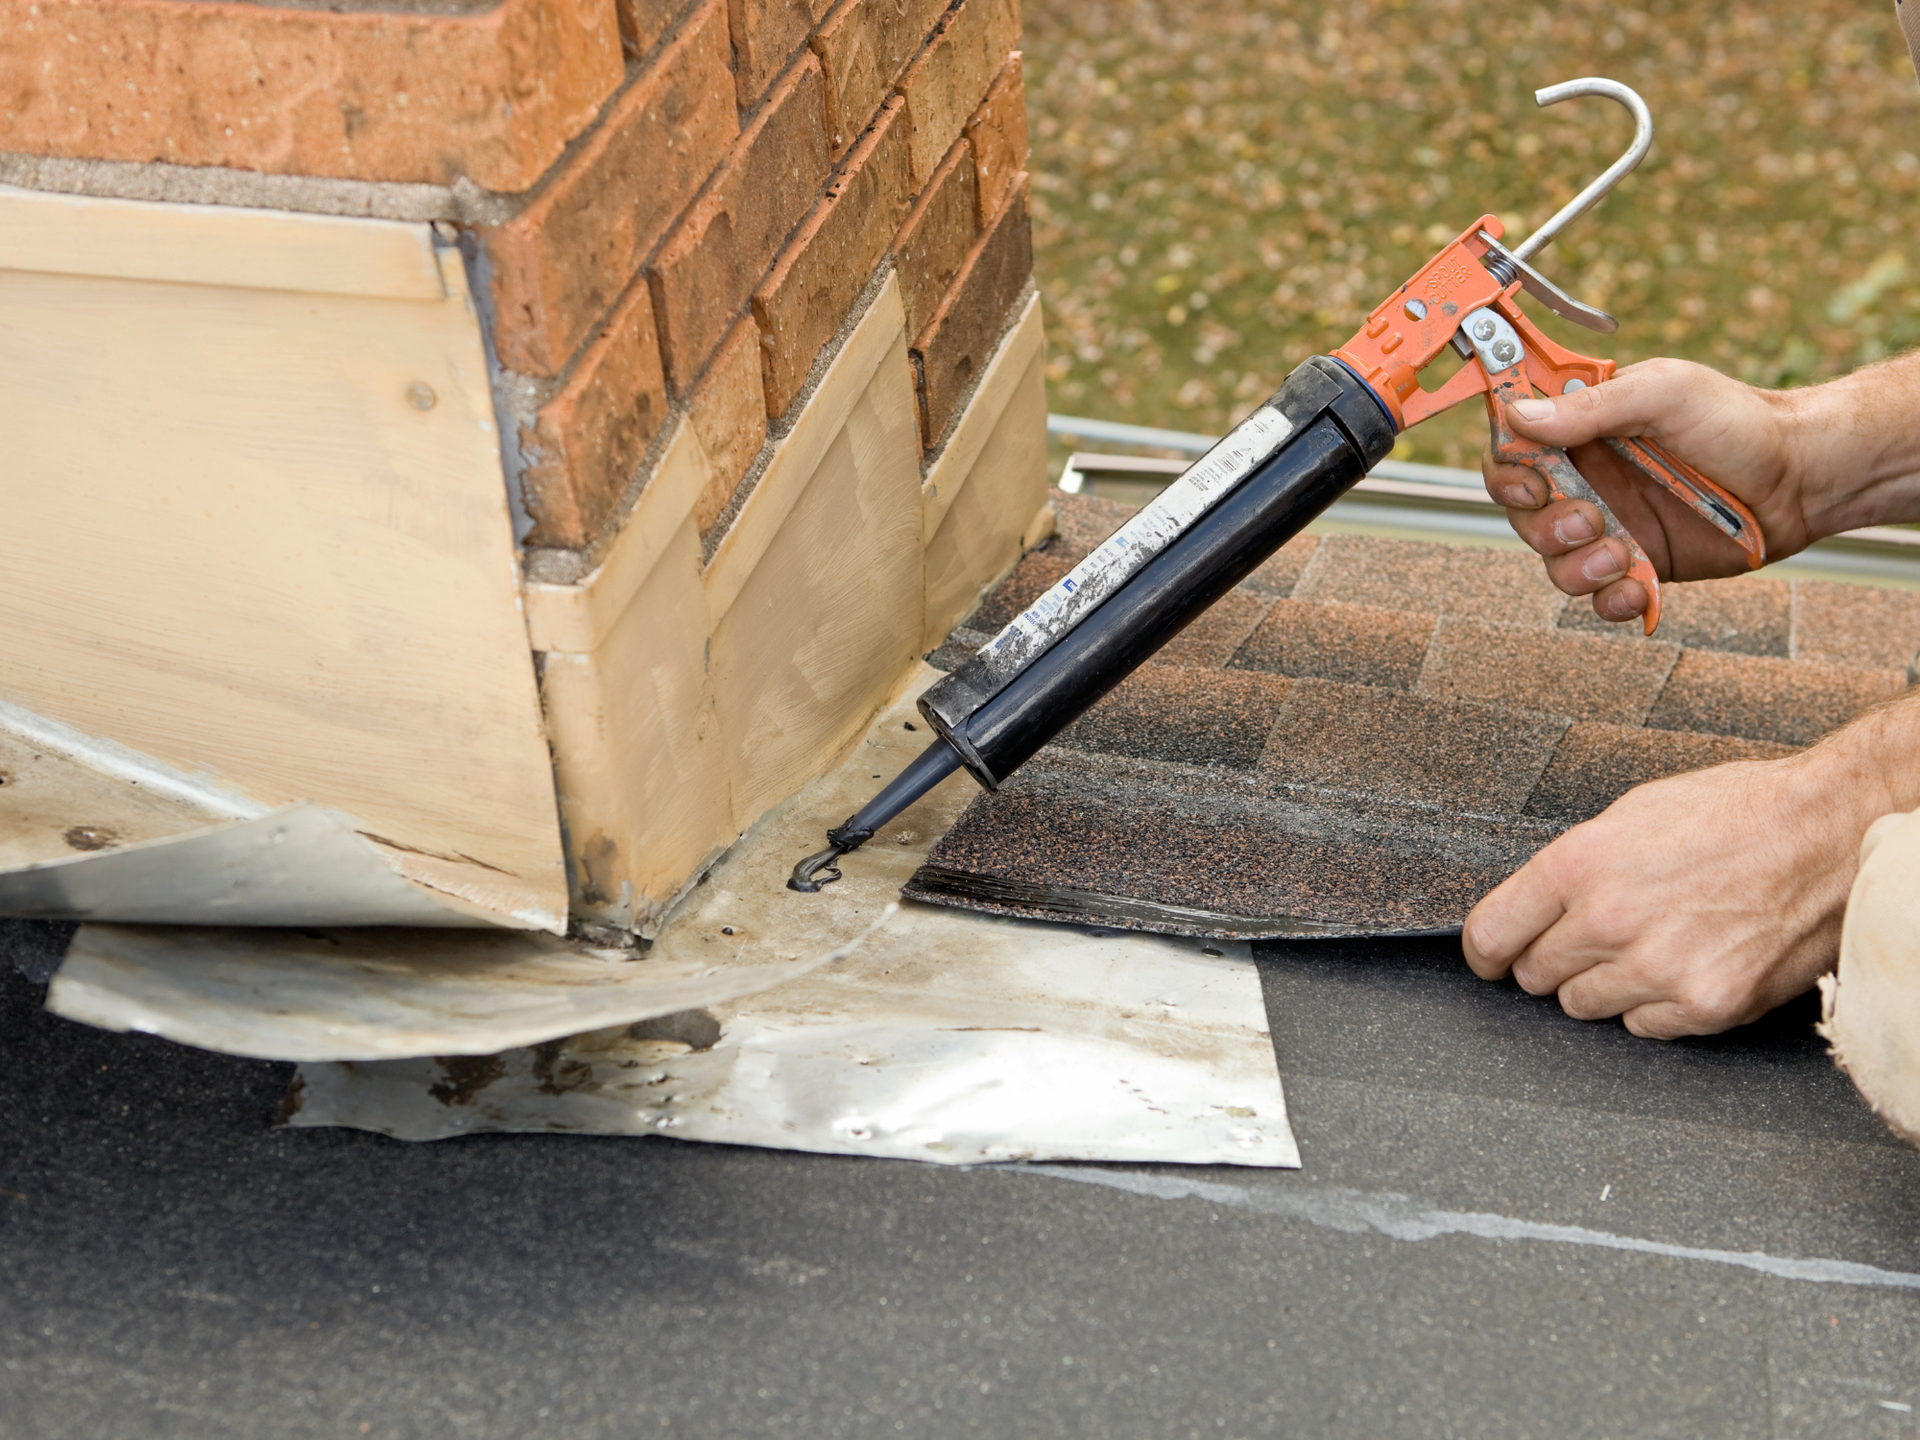
4. Call a Local Roofing Professional

For an emergency roof repair in Houston, it’s best to work with a local contractor who understands the specific challenges of Texas weather. As a trusted Houston roofer, we will:


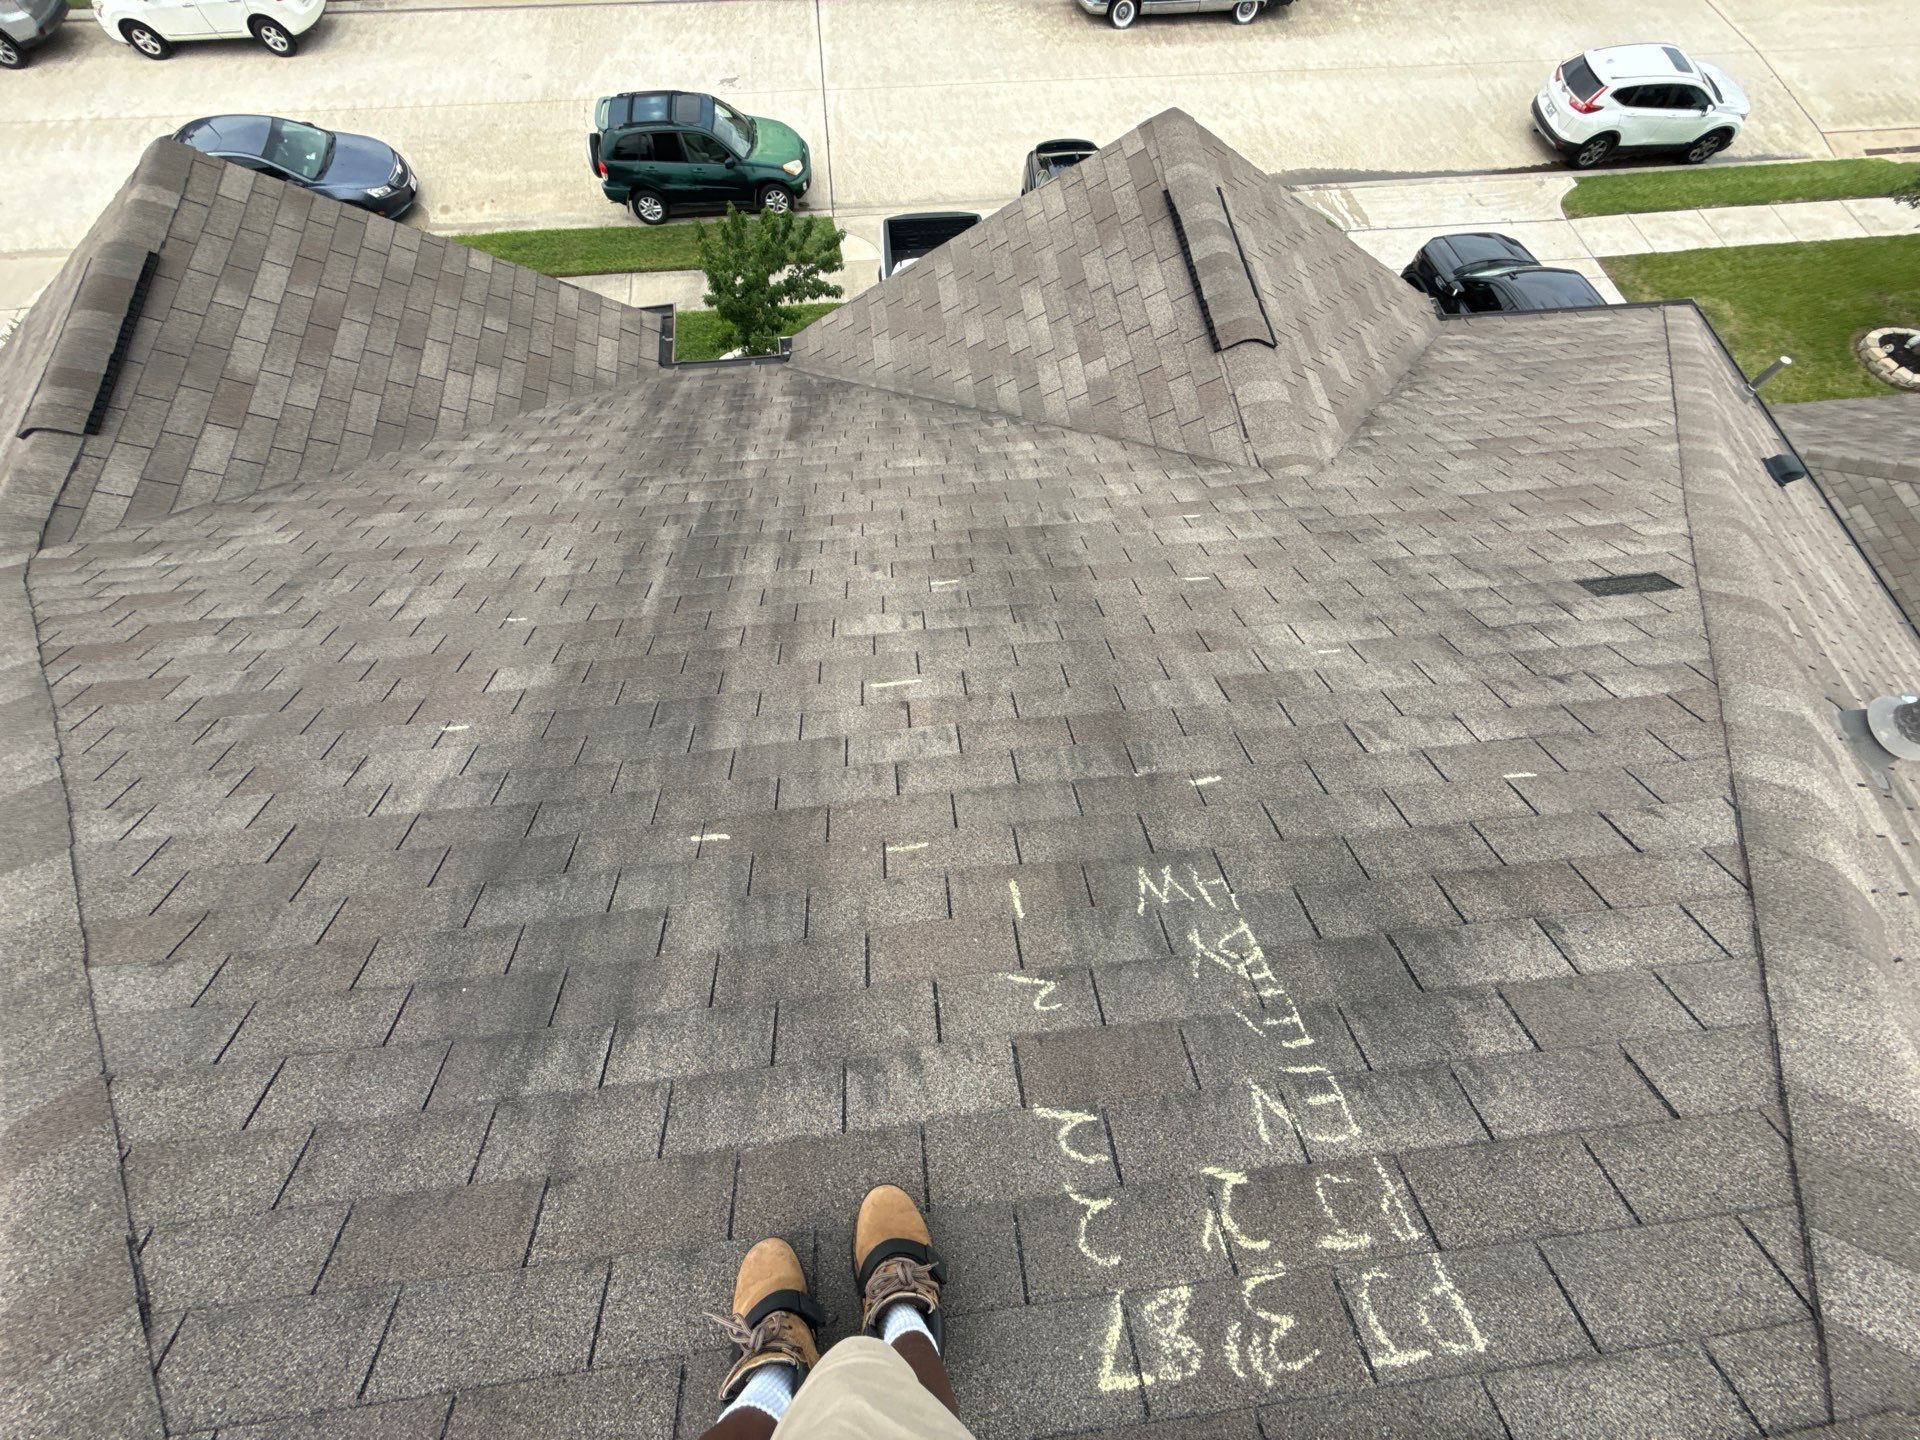
  • Perform a thorough roof inspection
  • Provide temporary coverings like tarps if needed
  • Help you prevent further damage while waiting for full repairs
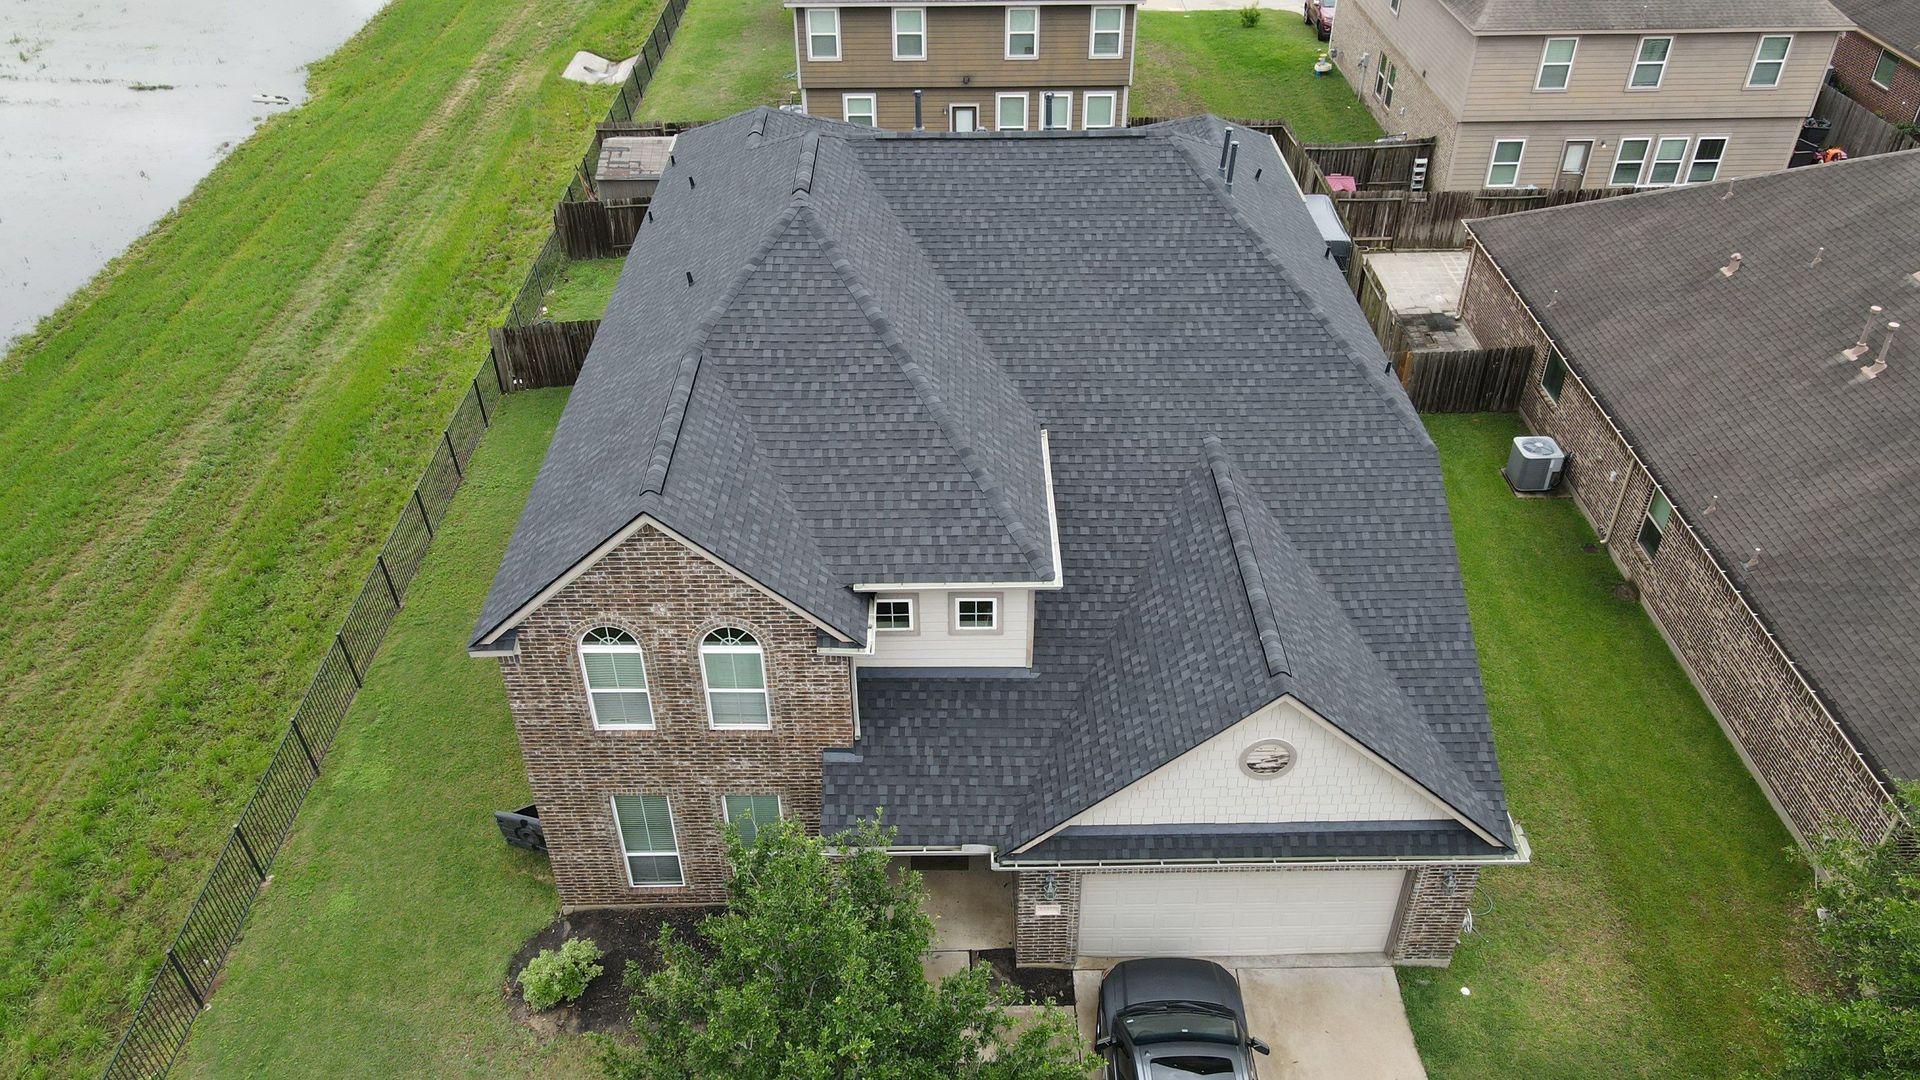
  • Offer guidance on whether to repair or replace your roof


Avoid “storm chasers” who show up after big weather events from out of town. They often lack proper licensing, don’t understand local building codes, and may not be around for warranty support.


5. Contact Your Insurance Company

Once you’ve found and spoken to your roofer, contact your insurance provider to begin the claims process. Your roofer may be able to provide an inspection report or meet with your adjuster to make sure nothing is overlooked.


6. Don’t Delay Repairs

In Houston’s climate, small roof issues have the potential to quickly become big problems. Water intrusion can damage drywall, flooring, electrical systems, and even your home’s foundation. Acting quickly better protects your property and helps you avoid costlier repairs down the road.

Need an Emergency Roof Repair in Houston?


At Tophat Roofing we specialize in emergency roof repairs in Houston and our team is standing by to respond quickly and help you through this process. Call us today, we’ve got you covered!


January 14, 2026
Flat and sloped roofing systems face different challenges. Learn more on how repair methods vary and what property owners should consider.
January 5, 2026
Temperature swings can cause roof damage in Houston through expansion, contraction, and material fatigue.
December 29, 2025
Some of the best roofers in Houston explain how proper materials, installation, ventilation, and maintenance help roofs last 30+ years in Houston’s climate.
December 23, 2025
Houston roofers share why delaying roof replacement can put your home at risk and increase long-term costs.
Recently completed roof repair in Houston.
December 15, 2025
Some of the most common causes of premature roof failure and how Houston homeowners can prevent expensive repairs with proper installation and maintenance.
December 8, 2025
Start the year strong with this New Year home maintenance checklist. Get tips from Houston roofing professionals to protect your roof, gutters, HVAC, and home.
December 4, 2025
Why December is one of the smartest months to schedule a roof inspection and how a trusted Houston roofing company can catch weather-related damage early and prepare your home for the winter.
November 28, 2025
Hanging Christmas lights is one of the best ways to bring festive cheer to your home, but many homeowners hesitate because they fear damaging their roof. Drilling, stapling, or using the wrong hardware can create holes, loosen shingles, or even void your roof’s warranty. The good news? You can create a dazzling holiday display without causing a single scratch to your roof . Here’s how to hang Christmas lights safely, efficiently, and damage-free. 1. Skip the Nails and Staples—Use the Right Clips Instead The easiest way to protect your roof is to never puncture it . Nails, screws, and staples may seem quick, but they pierce shingles and underlayment, exposing your roof to leaks and long-term damage. Instead, opt for non-invasive light clips . These inexpensive plastic clips attach securely to gutters, shingles, or eaves without creating holes. Gutter clips : Snap onto the lip of your gutter and hold light strings firmly. Shingle tabs or all-in-one clips : Tuck under shingles without lifting or prying. Clips keep lights straight, secure, and easy to remove once the season ends. 2. Plan Your Layout Before You Start Before climbing a ladder, plug in your lights and check for burnt bulbs or broken sections. Measure your roofline and outline where each strand will go. Planning ahead prevents unnecessary repositioning—which also reduces the urge to “just staple it.” A good rule of thumb: Allow a little slack so your lights don’t pull or tug against your shingles or gutters. 3. Use a Sturdy, Safe Ladder and Work Slowly Most holiday light mishaps happen because of unsafe ladder use, not roof damage. Choose a ladder that extends above your roofline and place it on solid, level ground. Never lean too far to one side; move the ladder instead. Slow, careful installation means you’re much less likely to tug on shingles or gutters accidentally. 4. Choose the Right Lights for Outdoor Use Always select outdoor-rated Christmas lights labeled for exterior use. Indoor lights aren’t designed to handle moisture or temperature changes and are more likely to malfunction. Pair them with weather-resistant extension cords and timers to keep your setup safe and reliable throughout the season. 5. Avoid Walking on the Roof When Possible Walking on your roof isn’t just risky—it can also crush shingles, dislodge granules, and shorten your roof’s lifespan. Set up your light display from the ladder whenever possible. If you must walk on the roof, step lightly, wear soft-soled shoes, and avoid stepping on brittle edges or curled shingles. 6. Remove Lights Carefully After the Holidays When the season wraps up, don’t yank lights down. Pulling them can dislodge shingles or bend gutters. Instead, remove each clip individually and store everything neatly for easy setup next year.
November 19, 2025
Learn how to spot storm damage on a roof and distinguish it from normal wear. Identify common signs, protect your home, and avoid insurance claim issues.
November 10, 2025
Get ready for your new roof with this step-by-step homeowner’s guide. Learn how to prepare for a roof replacement in Houston and avoid common delays or damage.