Is Your Roof Aging or Storm-Damaged? How to Know the Difference

November 19, 2025

When your roof starts showing signs of aging or stress, it can be difficult to determine what’s causing the problem. Is it simply the result of long-term wear and tear, or are those shingles telling of recent storm damage? Understanding the difference will help you with important questions regarding the health of your home and when dealing with insurance claims while deciding when repairs or replacements may be necessary.


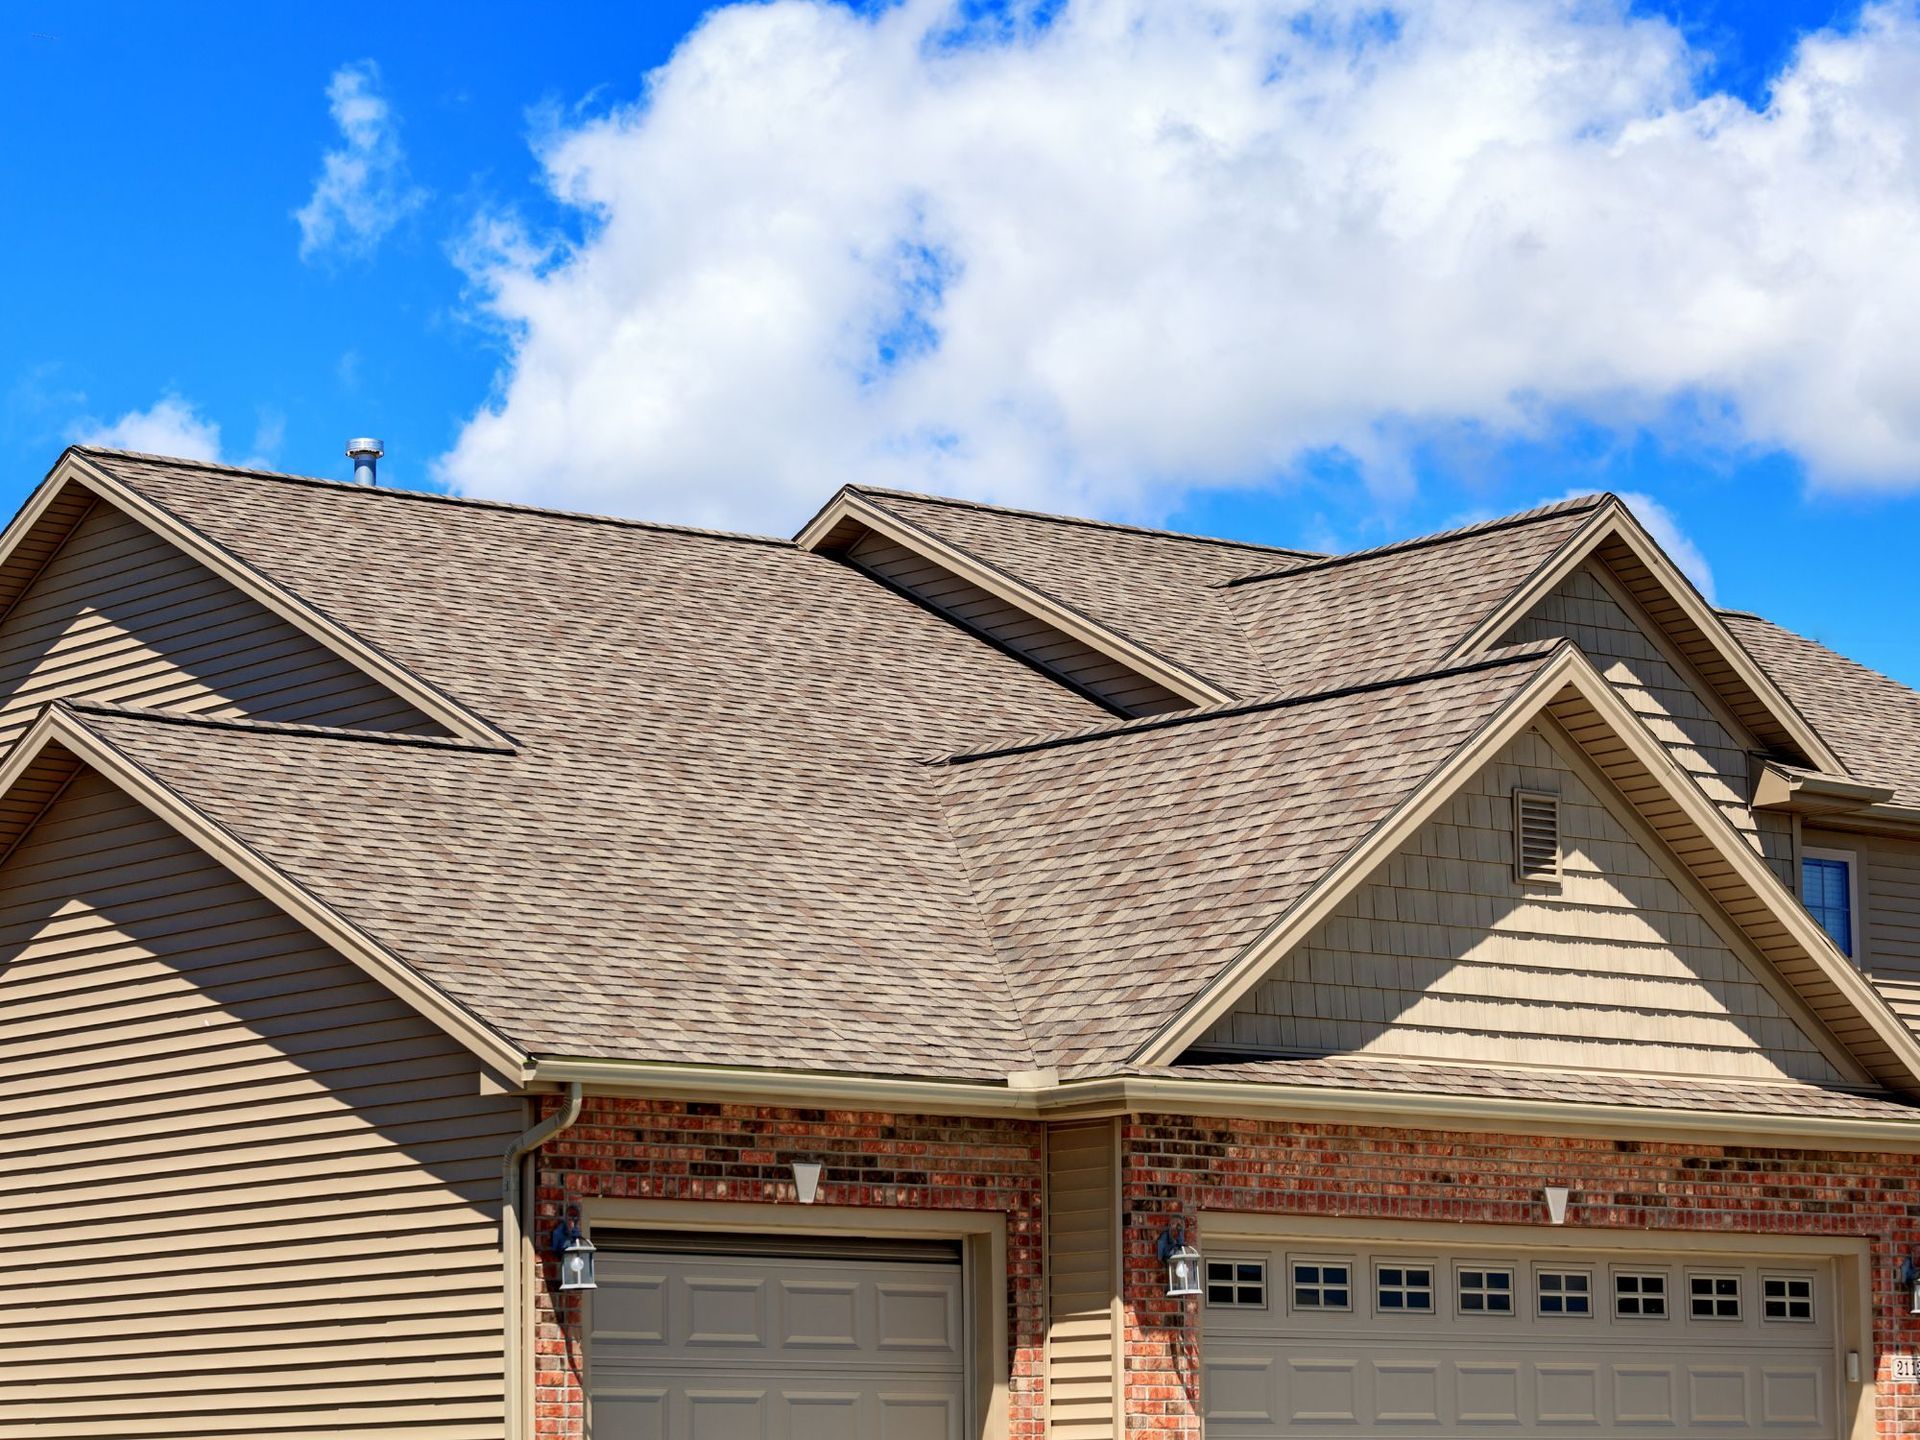
What Counts as Normal Wear and Tear?

Even the best roofs don’t last forever. Over the years, exposure to sun, wind, and temperature fluctuations naturally impacts roofing materials. Here are some signs of typical wear:


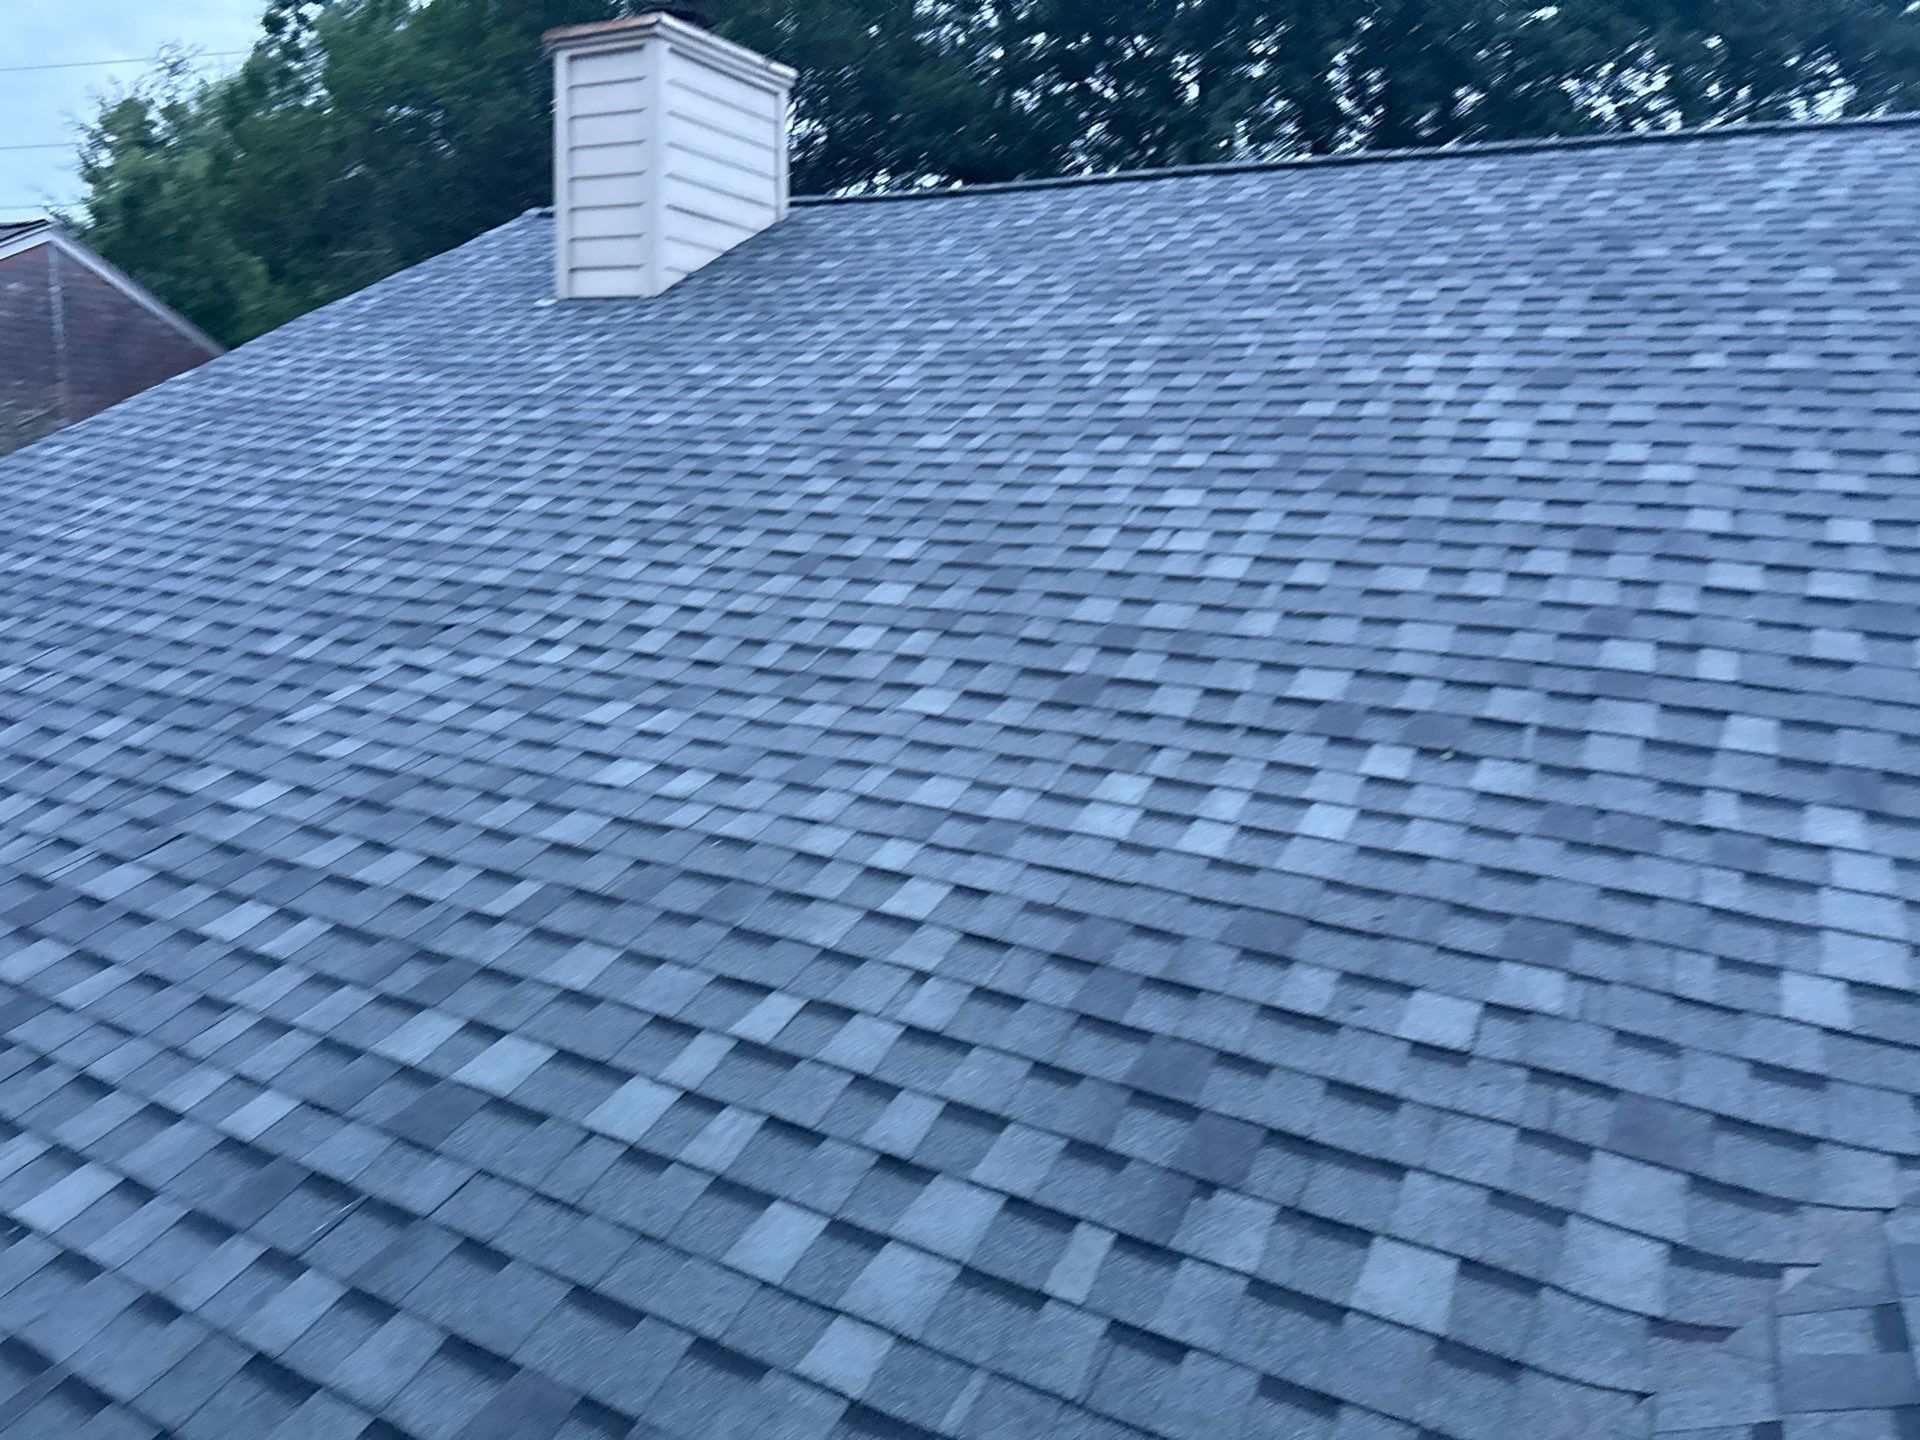
1. Granule Loss Over Time

As asphalt shingles age, the protective granules begin to shed. While some granule loss is expected after installation and gradually throughout the roof’s lifespan, widespread uniform thinning is usually a sign of aging—not storm damage.


2. Fading and Discoloration

UV exposure causes shingles to fade slowly and evenly. This is normal. If the fading appears consistent across the roof, it’s likely due to long-term sun exposure.


3. Curling or Brittle Shingles

Older shingles may curl at the edges or become brittle and break easily. This typically points to age, poor ventilation, or heat exposure rather than a specific storm event.


4. Minor Cracking from Temperature Cycles

Thermal expansion and contraction can cause small cracks. When these cracks appear gradually and uniformly, they’re usually part of the roof’s natural aging process.


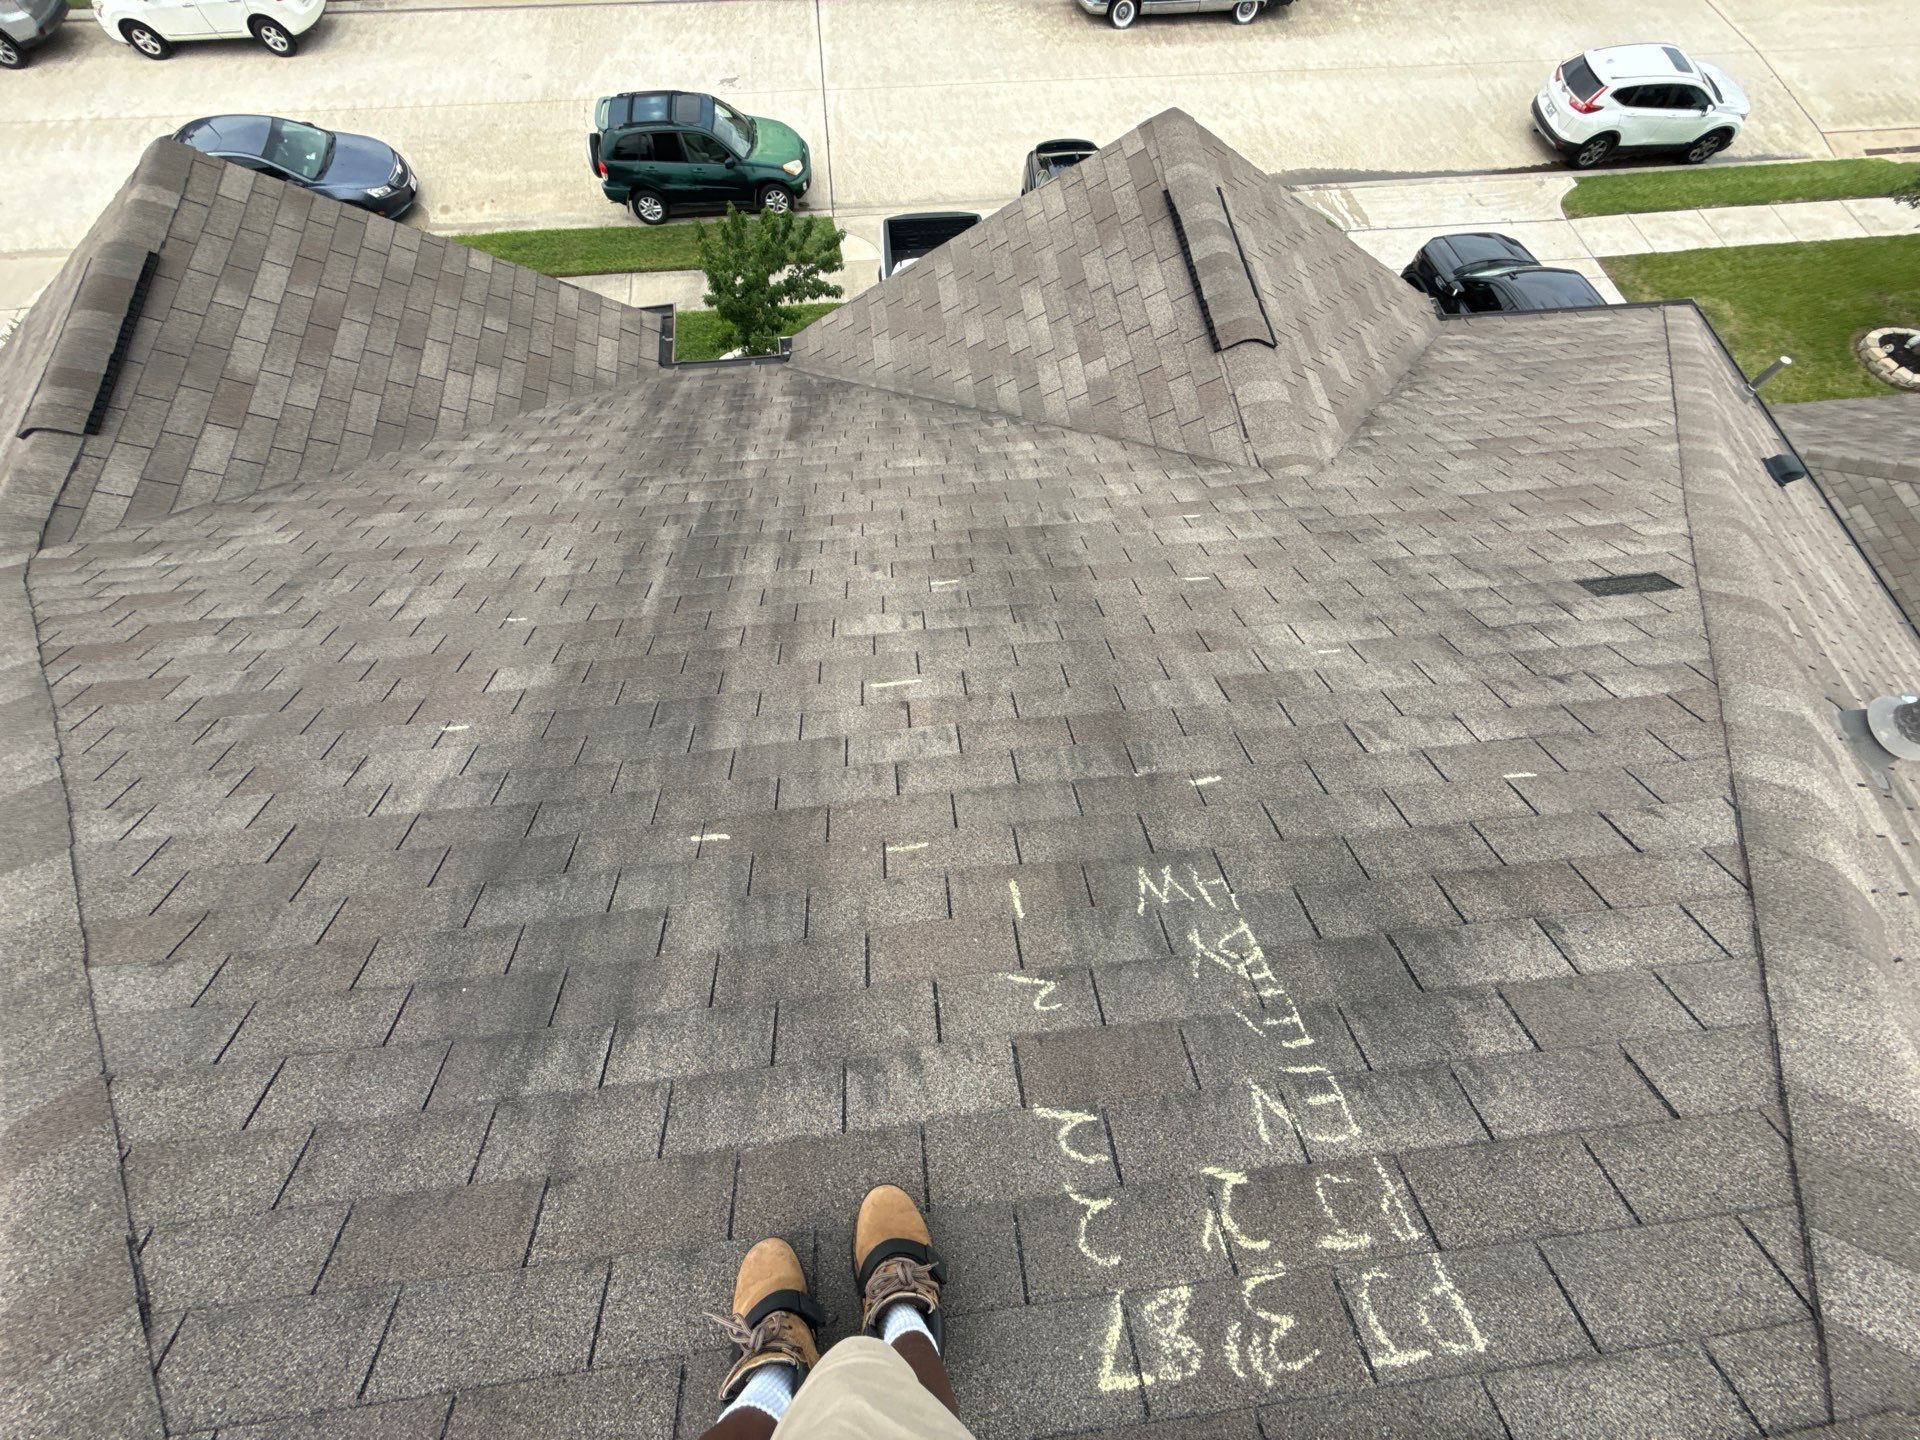
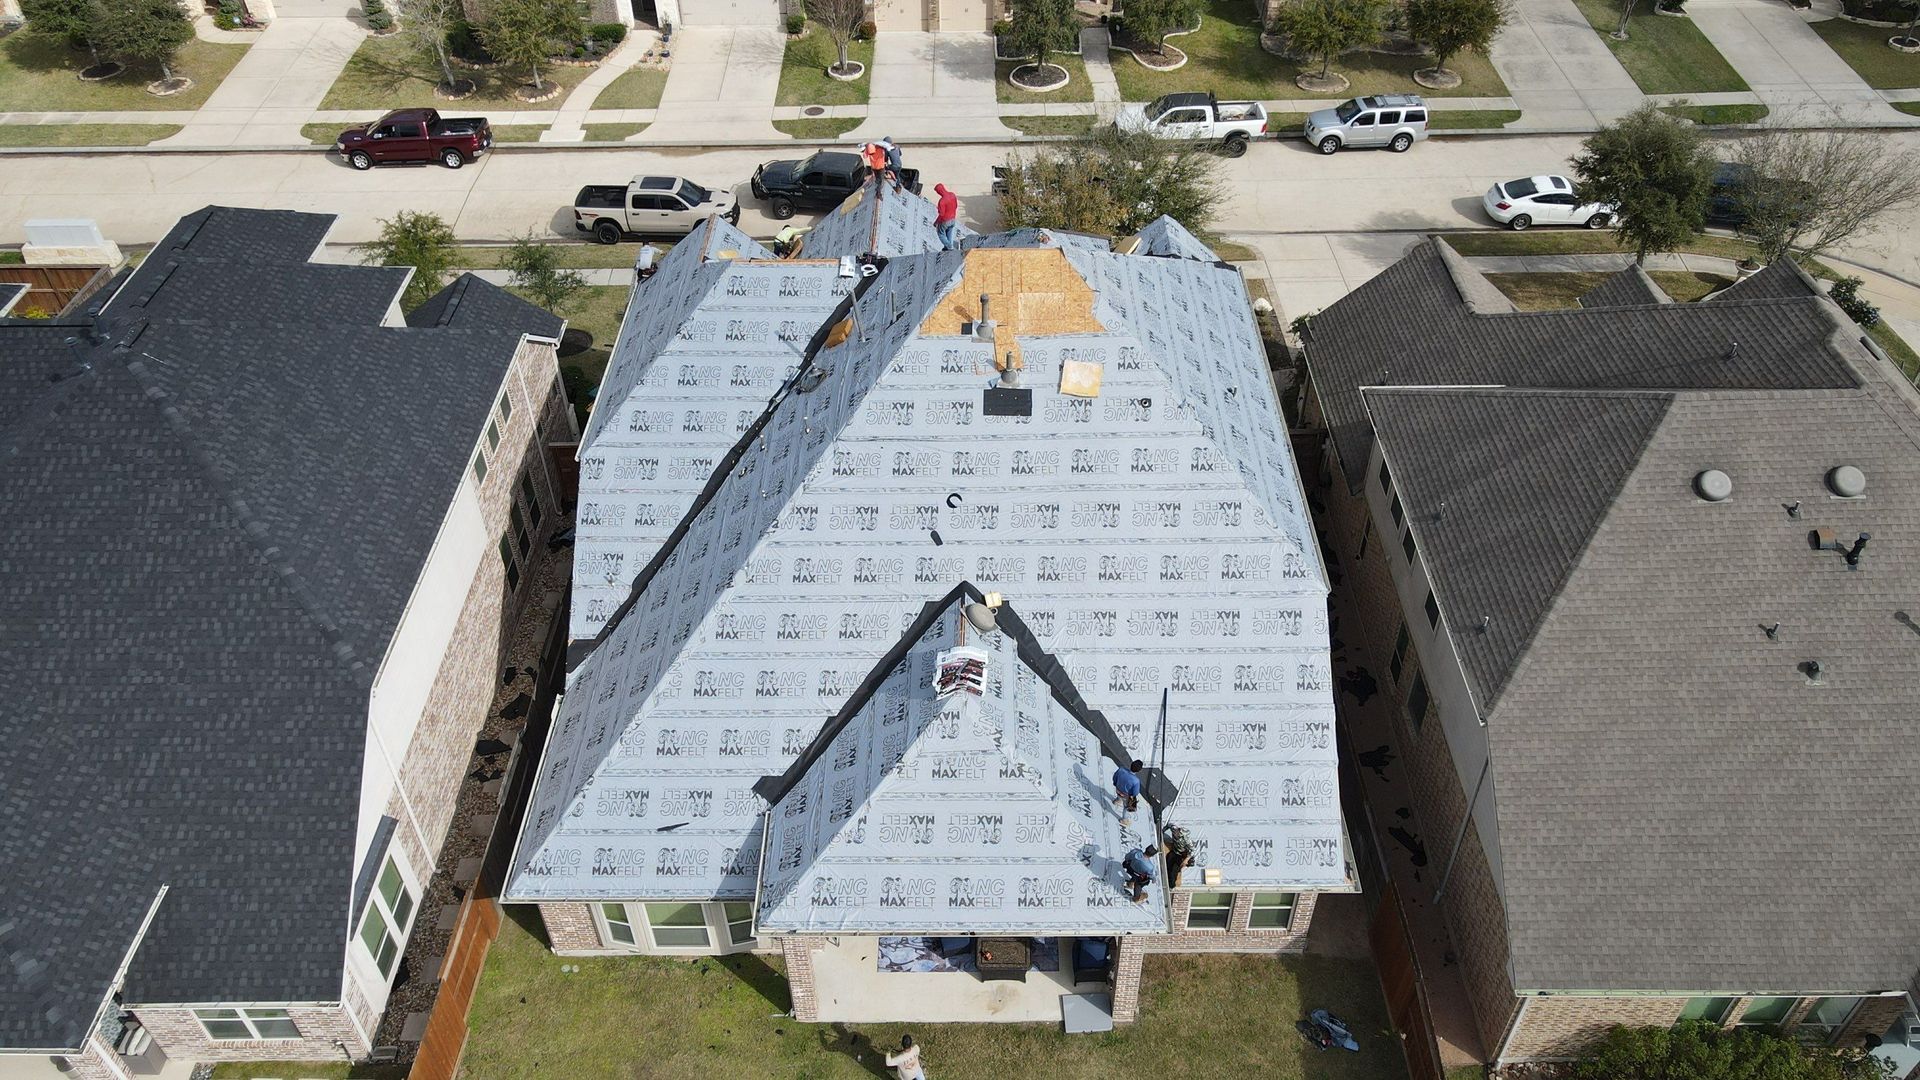
Signs Your Roof Has Storm Damage

Storm damage, on the other hand, usually appears suddenly and in irregular patterns. It may be caused by wind, hail, flying debris, or heavy rain. Look for these telltale signs:


1. Bruised, Dented, or Pitted Shingles

Hail impacts leave dark spots, dents, or soft “bruised” areas you can feel by gently pressing. These marks are often circular and sporadic—classic indicators of storm activity.


2. Missing or Lifted Shingles

High winds can tear shingles away completely or lift them so the seal breaks. If you notice shingles missing in concentrated areas, this is likely storm-related rather than age-related.


3. Torn or Creased Shingles

Wind can bend shingles back, creating creases that aren’t caused by normal wear. These lines or folds are clear evidence of wind damage.


4. Impact Damage from Debris

Branches or flying debris can crack or puncture shingles, leaving visible marks. These asymmetric, sudden-impact signs should always be inspected by a professional.


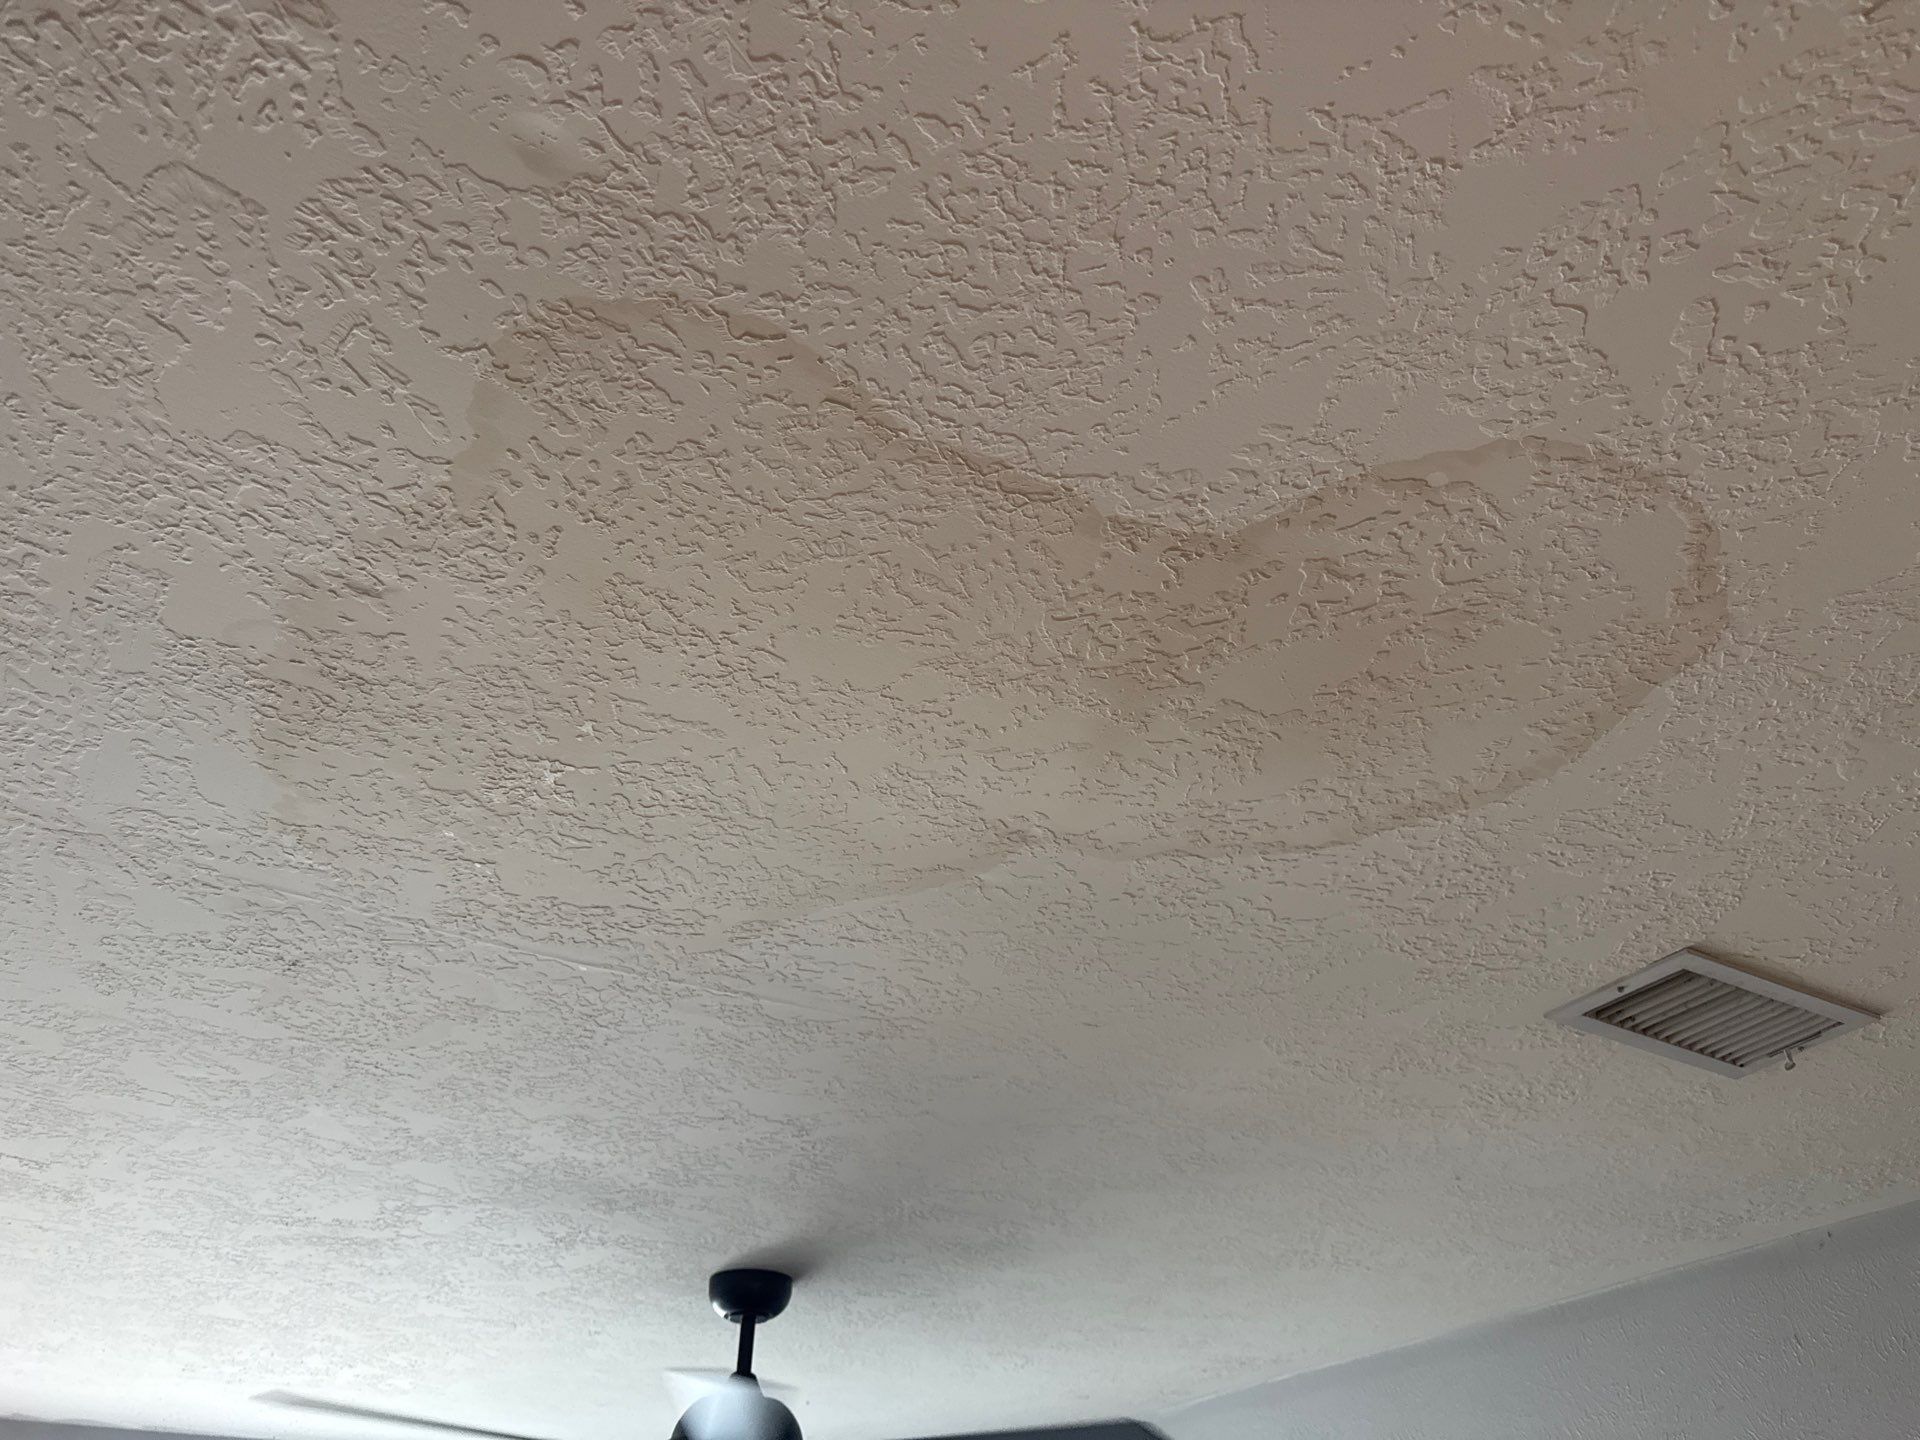
Why the Difference Matters

Insurance typically covers storm damage, but not normal wear and tear. Being able to distinguish between the two helps you:


  • File accurate insurance claims
  • Prevent denied coverage
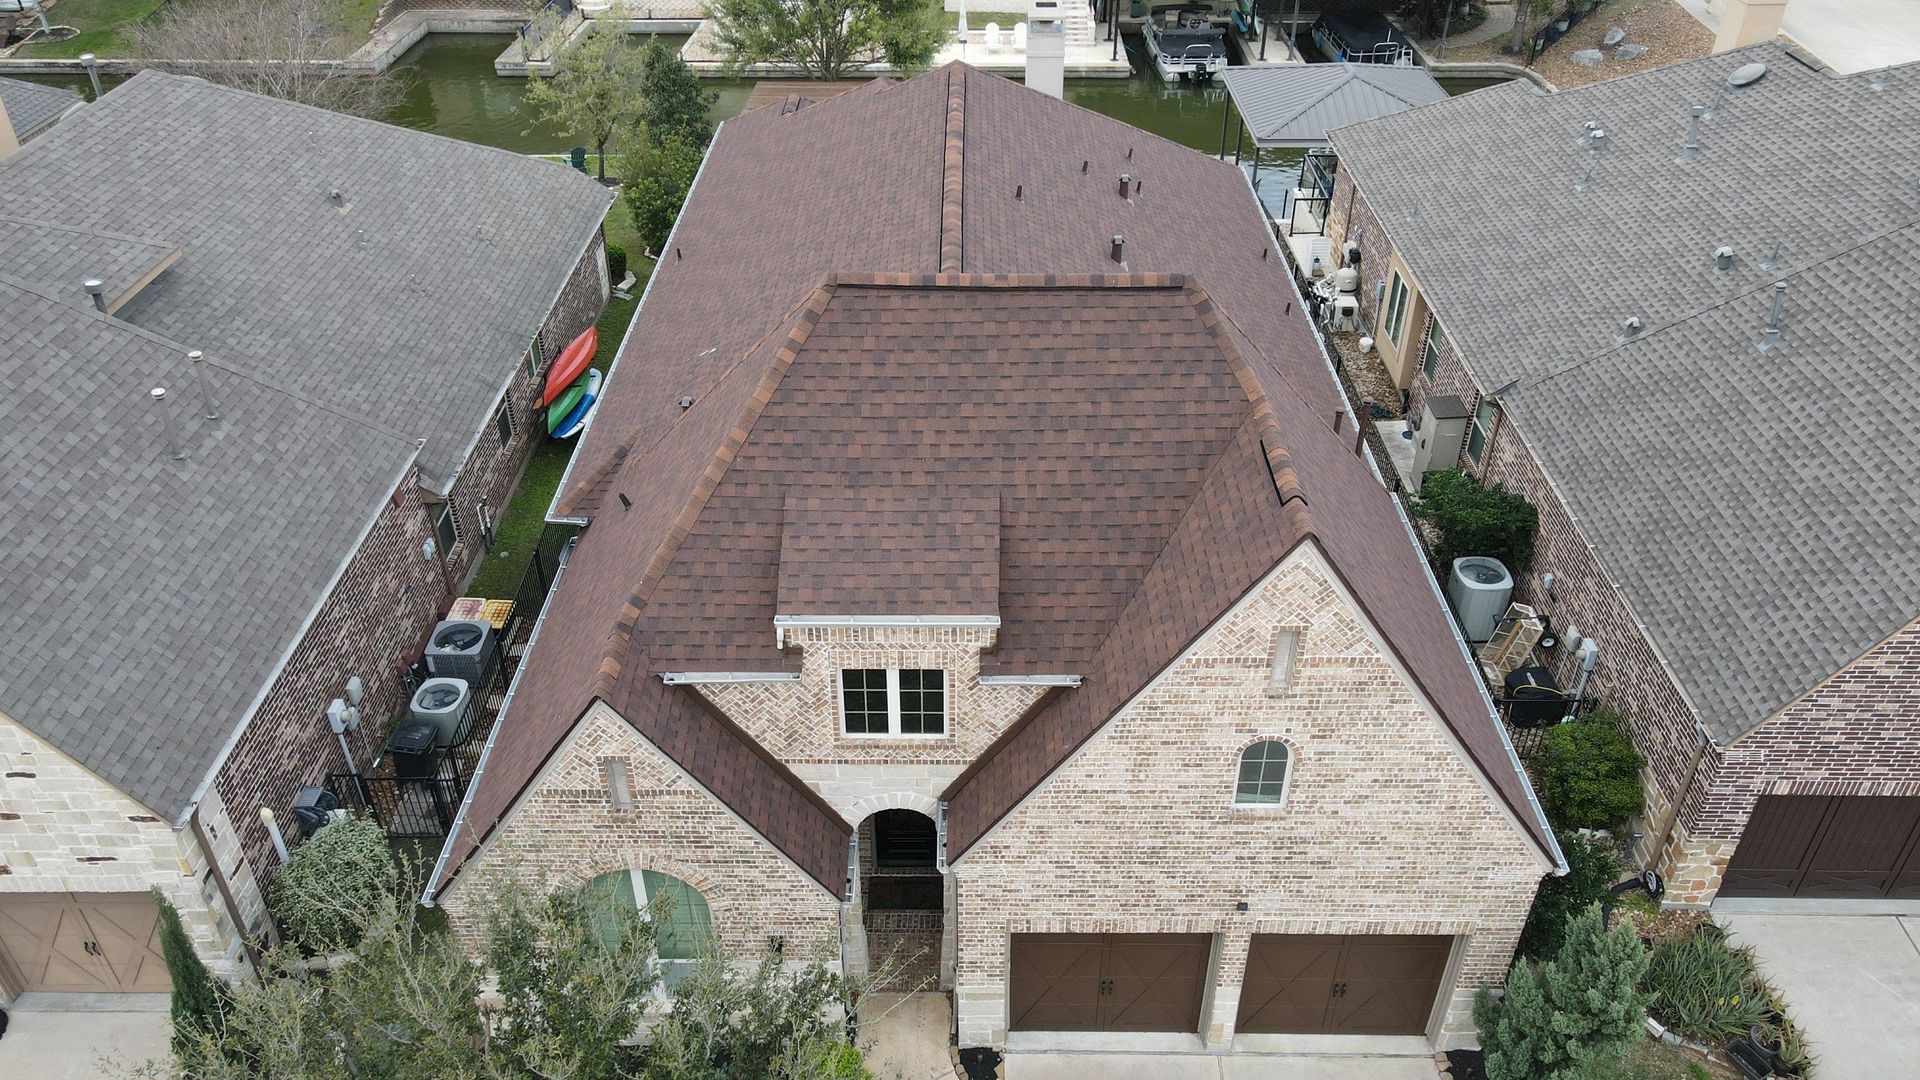
  • Make informed repair or replacement decisions
  • Extend the life of your home’s most important shield


If you're unsure, schedule a professional inspection. Early detection can save you from bigger, more expensive issues down the road.

January 14, 2026
Flat and sloped roofing systems face different challenges. Learn more on how repair methods vary and what property owners should consider.
January 5, 2026
Temperature swings can cause roof damage in Houston through expansion, contraction, and material fatigue.
December 29, 2025
Some of the best roofers in Houston explain how proper materials, installation, ventilation, and maintenance help roofs last 30+ years in Houston’s climate.
December 23, 2025
Houston roofers share why delaying roof replacement can put your home at risk and increase long-term costs.
Recently completed roof repair in Houston.
December 15, 2025
Some of the most common causes of premature roof failure and how Houston homeowners can prevent expensive repairs with proper installation and maintenance.
December 8, 2025
Start the year strong with this New Year home maintenance checklist. Get tips from Houston roofing professionals to protect your roof, gutters, HVAC, and home.
December 4, 2025
Why December is one of the smartest months to schedule a roof inspection and how a trusted Houston roofing company can catch weather-related damage early and prepare your home for the winter.
November 28, 2025
Hanging Christmas lights is one of the best ways to bring festive cheer to your home, but many homeowners hesitate because they fear damaging their roof. Drilling, stapling, or using the wrong hardware can create holes, loosen shingles, or even void your roof’s warranty. The good news? You can create a dazzling holiday display without causing a single scratch to your roof . Here’s how to hang Christmas lights safely, efficiently, and damage-free. 1. Skip the Nails and Staples—Use the Right Clips Instead The easiest way to protect your roof is to never puncture it . Nails, screws, and staples may seem quick, but they pierce shingles and underlayment, exposing your roof to leaks and long-term damage. Instead, opt for non-invasive light clips . These inexpensive plastic clips attach securely to gutters, shingles, or eaves without creating holes. Gutter clips : Snap onto the lip of your gutter and hold light strings firmly. Shingle tabs or all-in-one clips : Tuck under shingles without lifting or prying. Clips keep lights straight, secure, and easy to remove once the season ends. 2. Plan Your Layout Before You Start Before climbing a ladder, plug in your lights and check for burnt bulbs or broken sections. Measure your roofline and outline where each strand will go. Planning ahead prevents unnecessary repositioning—which also reduces the urge to “just staple it.” A good rule of thumb: Allow a little slack so your lights don’t pull or tug against your shingles or gutters. 3. Use a Sturdy, Safe Ladder and Work Slowly Most holiday light mishaps happen because of unsafe ladder use, not roof damage. Choose a ladder that extends above your roofline and place it on solid, level ground. Never lean too far to one side; move the ladder instead. Slow, careful installation means you’re much less likely to tug on shingles or gutters accidentally. 4. Choose the Right Lights for Outdoor Use Always select outdoor-rated Christmas lights labeled for exterior use. Indoor lights aren’t designed to handle moisture or temperature changes and are more likely to malfunction. Pair them with weather-resistant extension cords and timers to keep your setup safe and reliable throughout the season. 5. Avoid Walking on the Roof When Possible Walking on your roof isn’t just risky—it can also crush shingles, dislodge granules, and shorten your roof’s lifespan. Set up your light display from the ladder whenever possible. If you must walk on the roof, step lightly, wear soft-soled shoes, and avoid stepping on brittle edges or curled shingles. 6. Remove Lights Carefully After the Holidays When the season wraps up, don’t yank lights down. Pulling them can dislodge shingles or bend gutters. Instead, remove each clip individually and store everything neatly for easy setup next year.
November 10, 2025
Get ready for your new roof with this step-by-step homeowner’s guide. Learn how to prepare for a roof replacement in Houston and avoid common delays or damage.
By Toby Dagenhart November 6, 2025
Are you wondering if you can live in your home during a roof replacement? What to expect, how to prepare, and how TopHat Roofing in Houston runs your project.